


I recently attended a training session with the Auth0 Dev Rel team on a very cool new feature they have added called Auth0 Actions. In this article, I am going to explain what is Auth0 Actions, why to use them, and how to set one up.
What are Auth0 Actions?
Actions are secure, tenant-specific, versioned functions written in Node.js that execute at certain points during the Auth0 runtime. Actions are used to customize and extend Auth0's capabilities with custom logic.
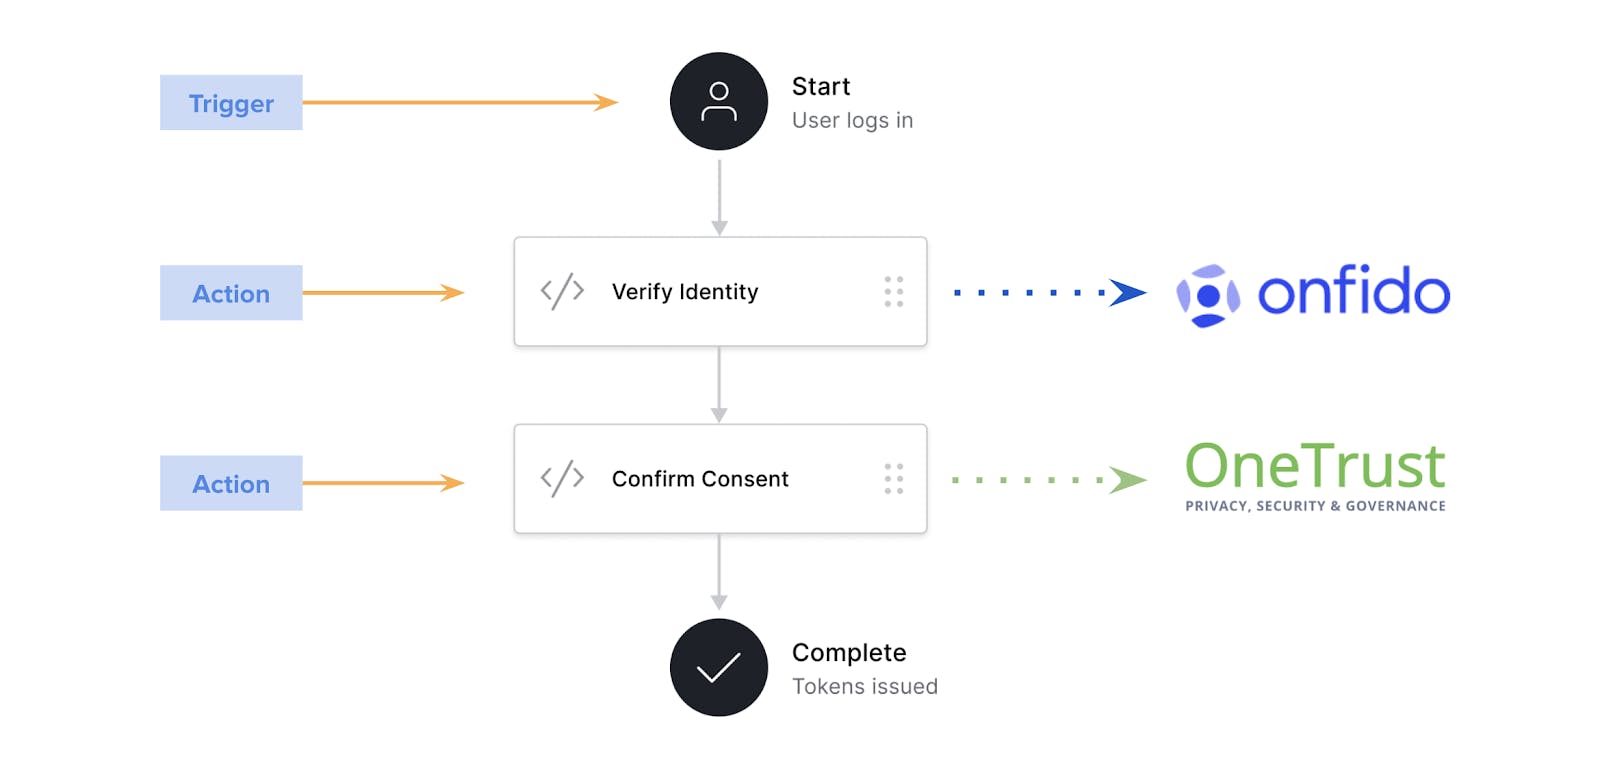
Above you can see a sample flow where once the user logs into the system, you add a trigger to verify the user's identity using Onfido and then confirm consent using OneTrust before completing the login flow and issuing the token.
In brief, an action is a programmatic way to add custom business logic into your login flow.
Why use Auth0 Actions? 🤔
1) Extensibility - Built to give developers more tooling and a better experience in their login workflows.
2) Drag N Drop Functionality — The flow editor lets you visually build custom workflows with drag and drop Action blocks for complete control.
3) Monaco Code Editor — Designed with developers in mind, you can easily write JavaScript functions with validation, intelligent code completion, and type definitions with TypeScript support.
4) Serverless Environment — Auth0 host's your custom Action functions and processes them when desired. The functions are stored and run on their infrastructure.
5) Version Control — You have the ability to store a history of individual Action changes and the power to revert back to previous versions as needed.
6) Pre-Production Testing — Your personal Actions can be drafted, reviewed, and tested before deploying into production
How do I set one up? 😮
For the purpose of this demo, we are going to be creating an action to enforce Multi-Factor Authentication (MFA) for a specific role. I will take you through the process of:
- Creating a role
- Adding users
- Setting up a demo application
- Creating an Action to enforce MFA
- Testing the code
Let's get started:
1) Login to Your Auth0 Account
The first step to secure your application is to access the Auth0 Dashboard in order to create your Auth0 application. If you haven’t created an Auth0 account, you can sign up for a free one now.
2) Create an Application
- Once in the dashboard, move to the Applications tab in the left sidebar.
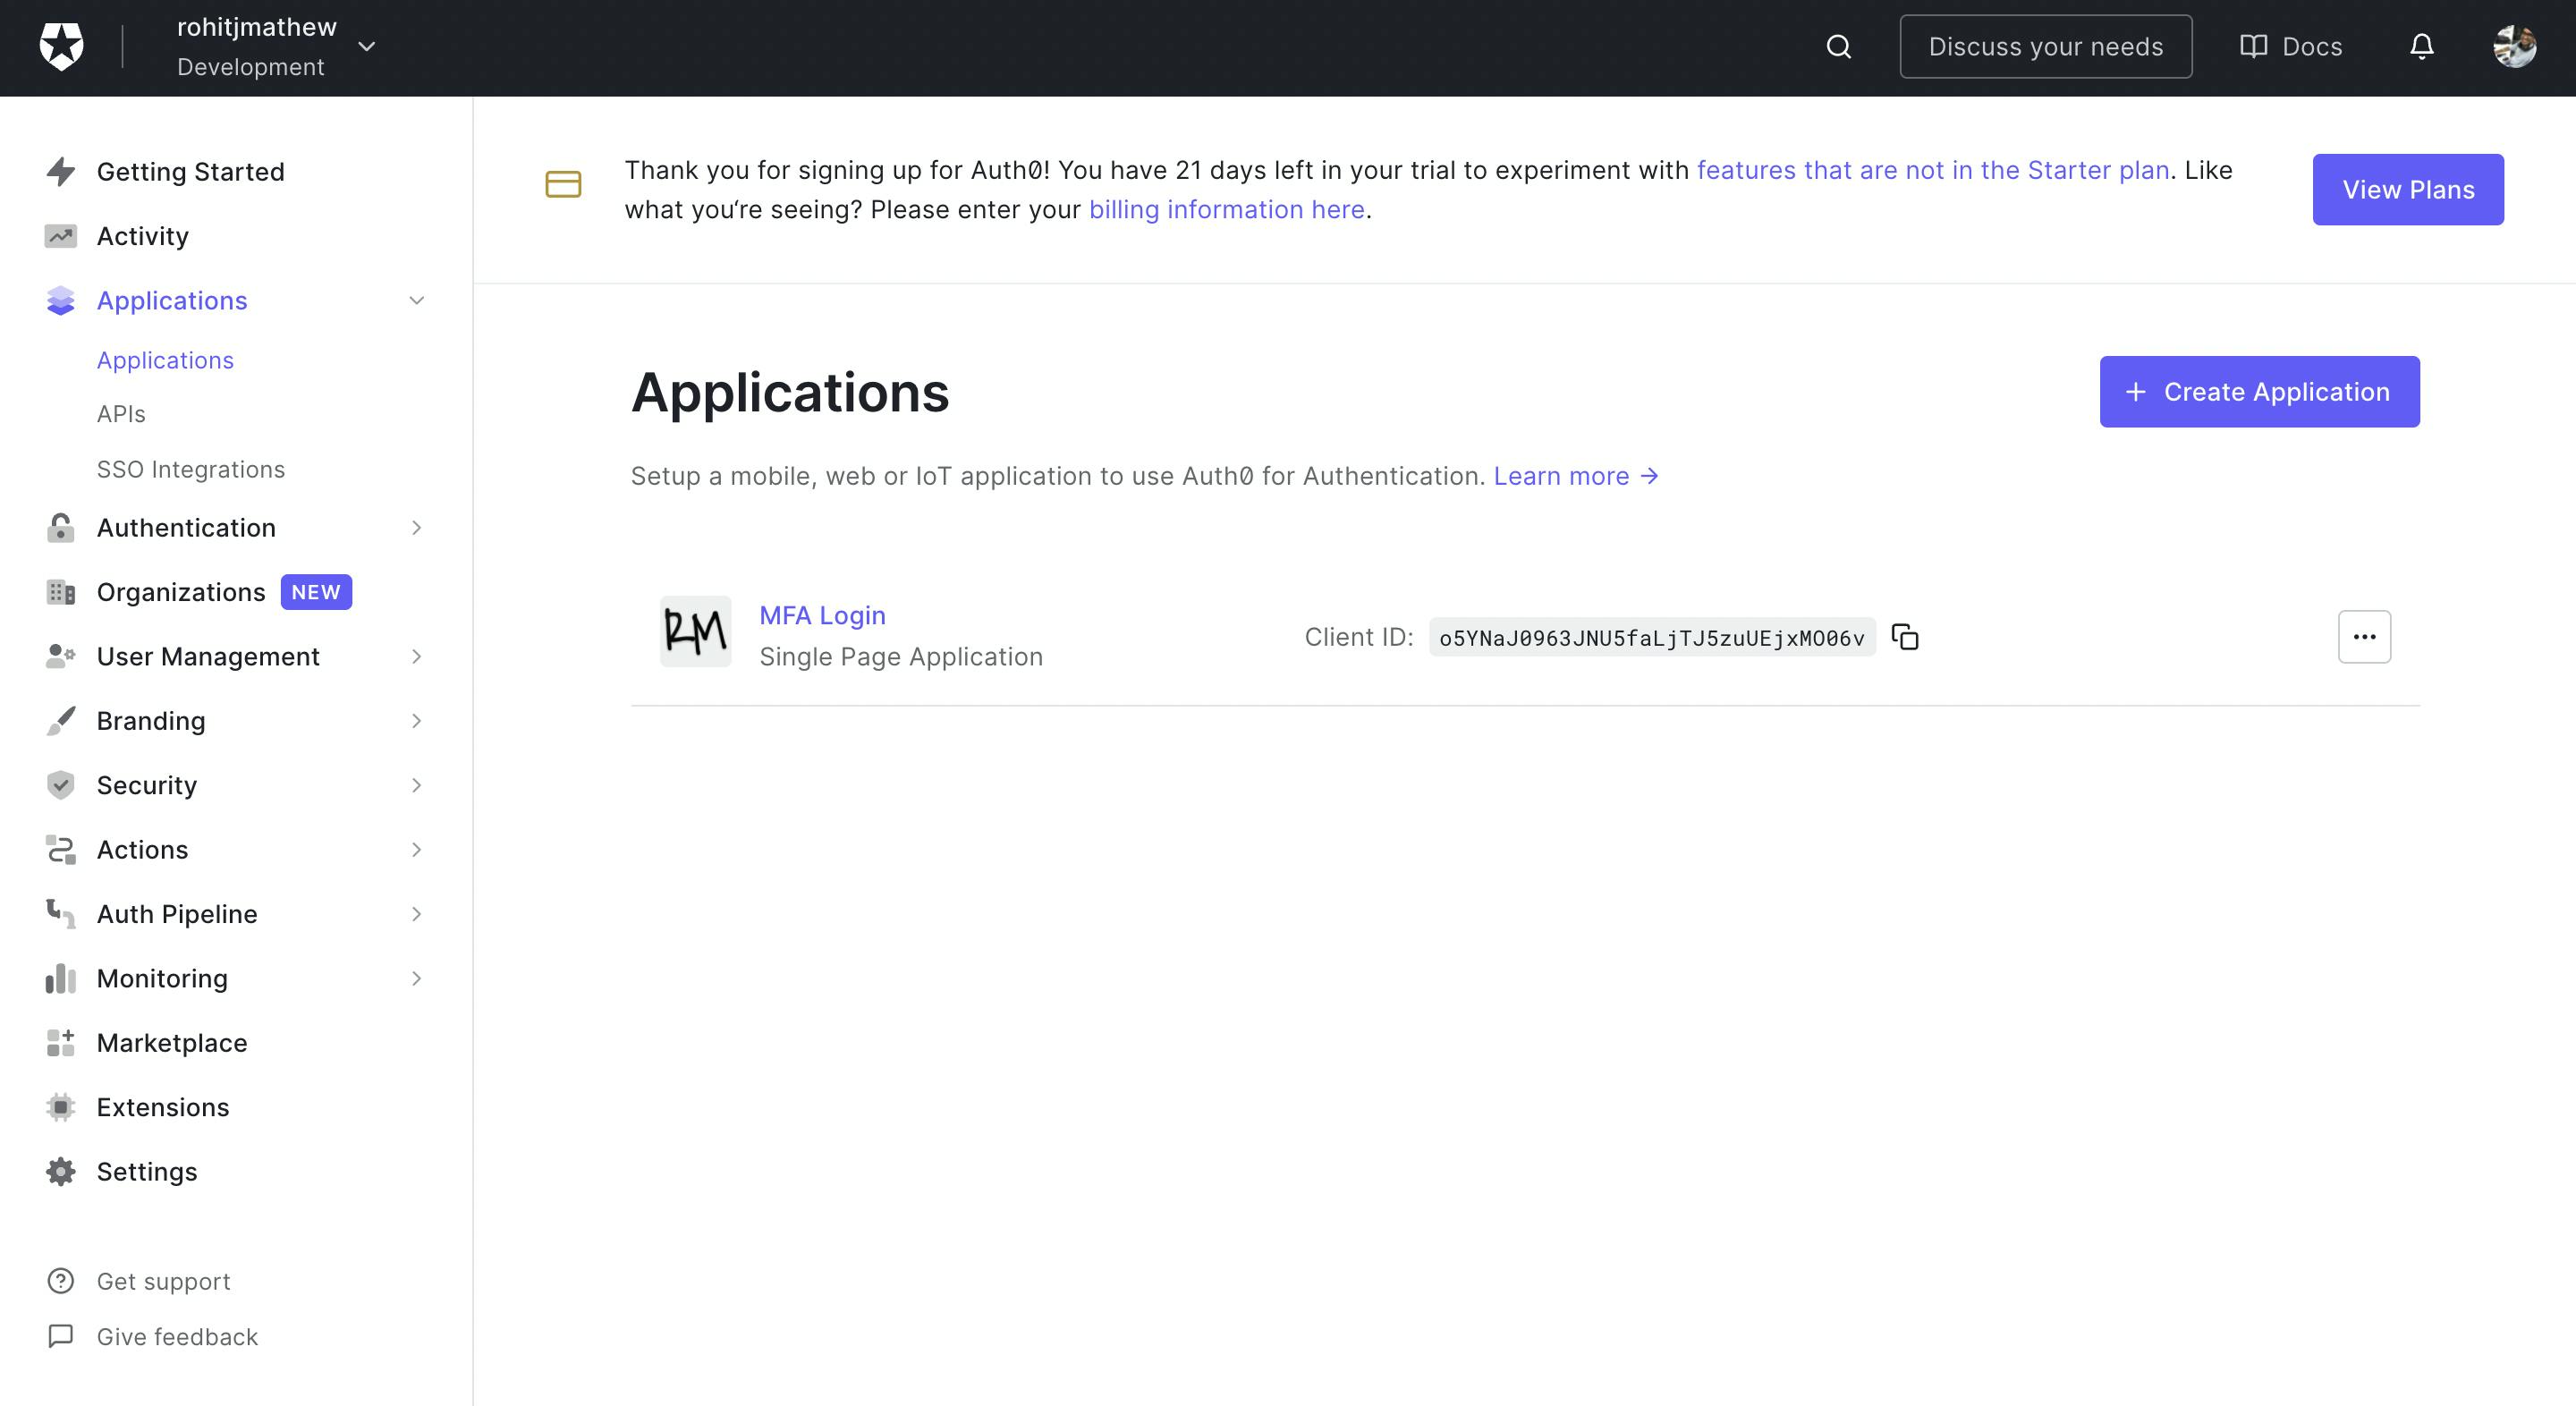
Click on Create Application
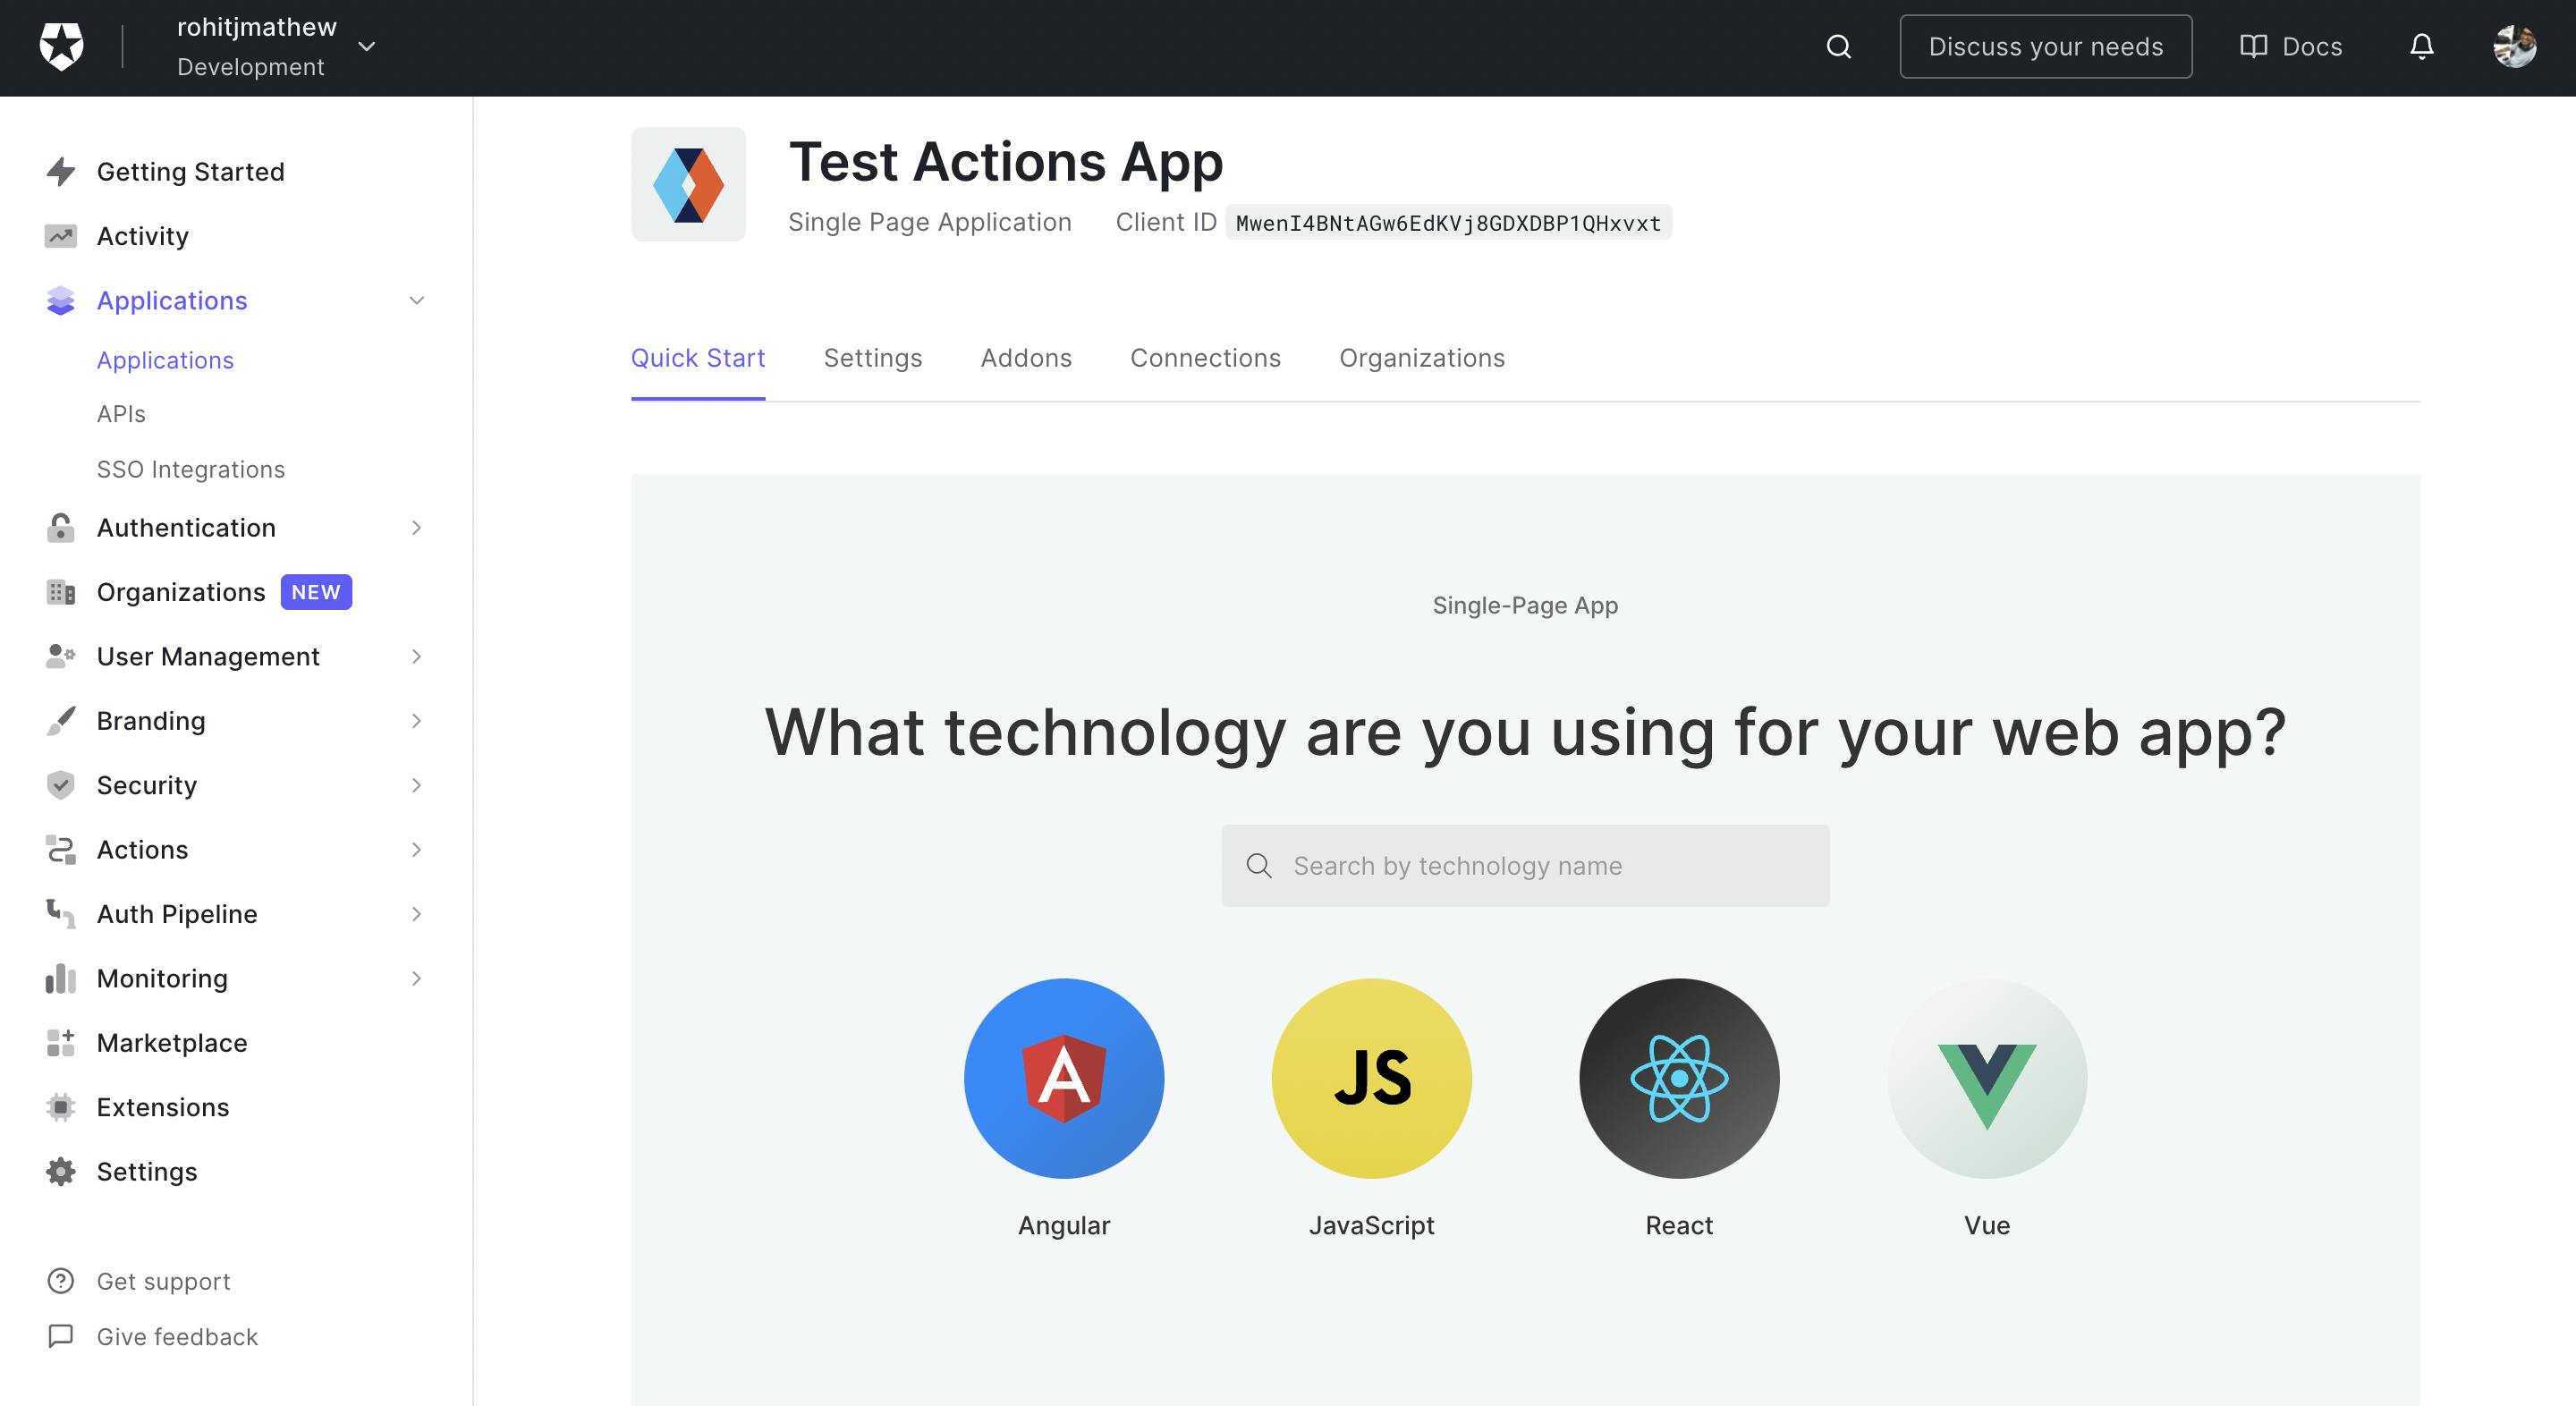
Provide a friendly name for your application (eg - Test Actions App) and choose Single Page Web Applications as an application type.
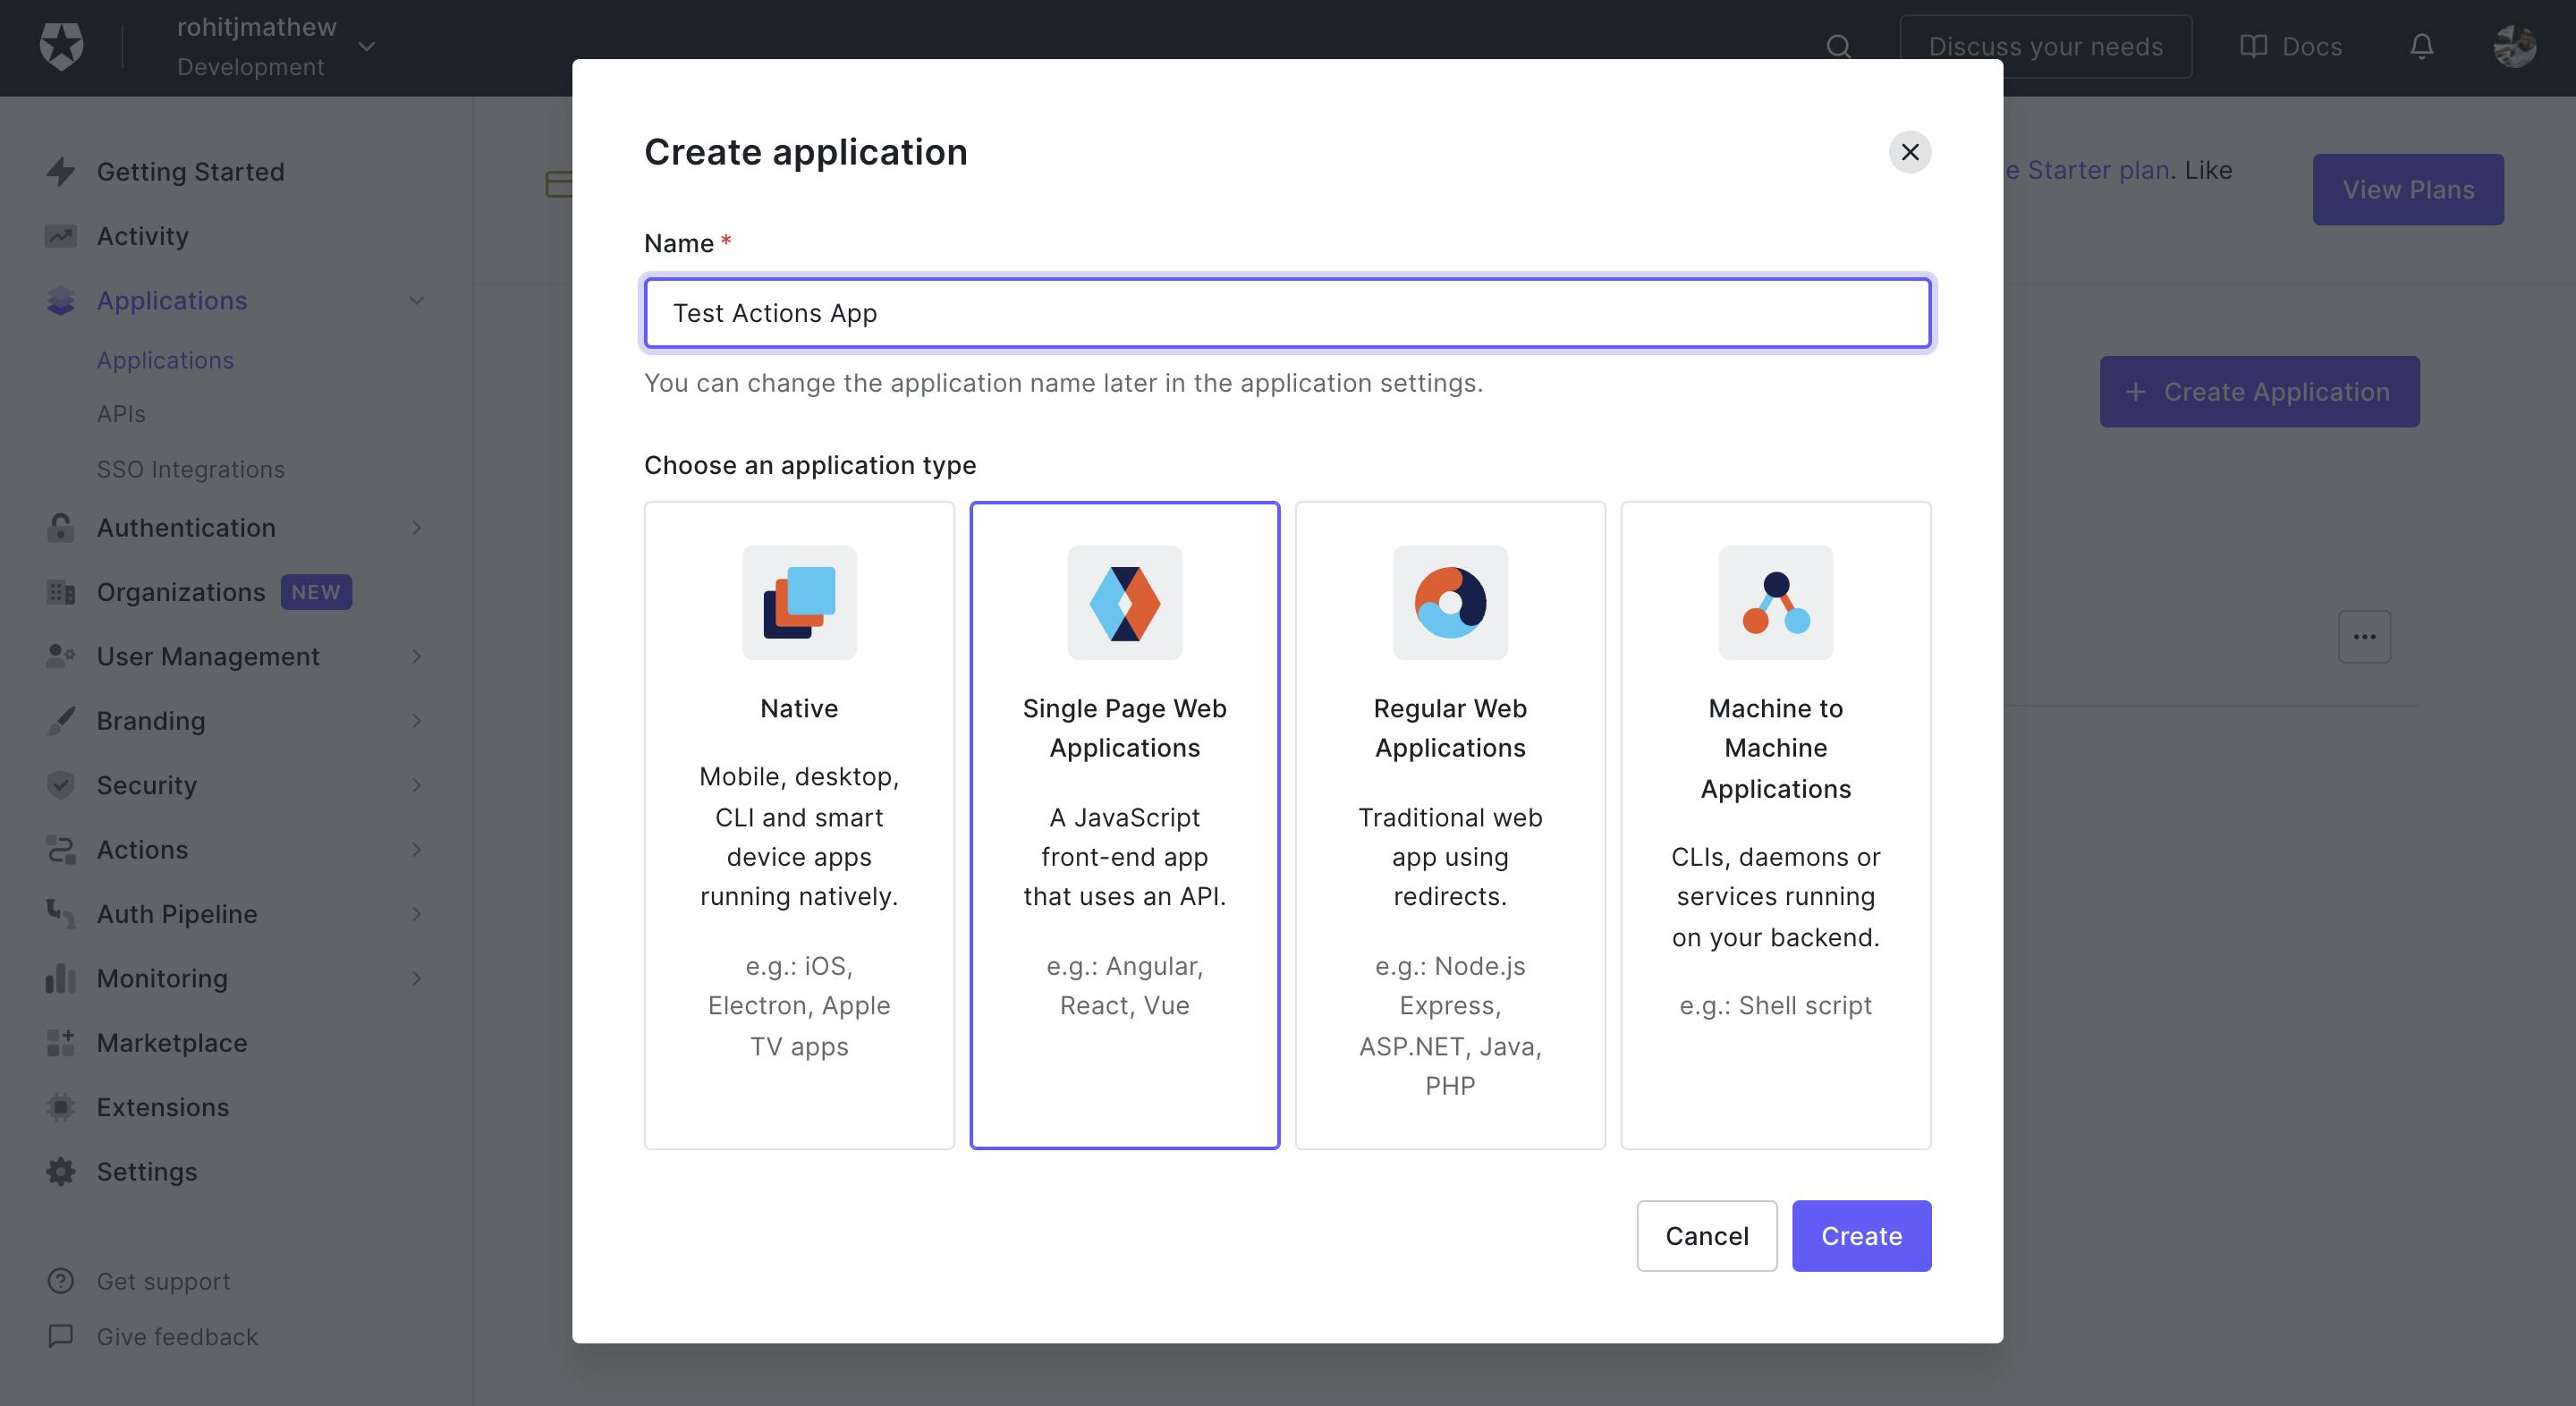
- From the quick start tab choose React. Download the sample app. This will have most of the necessary details already in place.
We also need to set up a few settings for this application. Choose the Settings tab (next to quick start). Add your localhost URL to the following places:
- Allowed Callback URLs
- Allowed Logout URLs
- Allowed Web Origins

3) Setup Application
- Unzip the code we downloaded in a location of your choice.
- Open it in the code editor of your choice
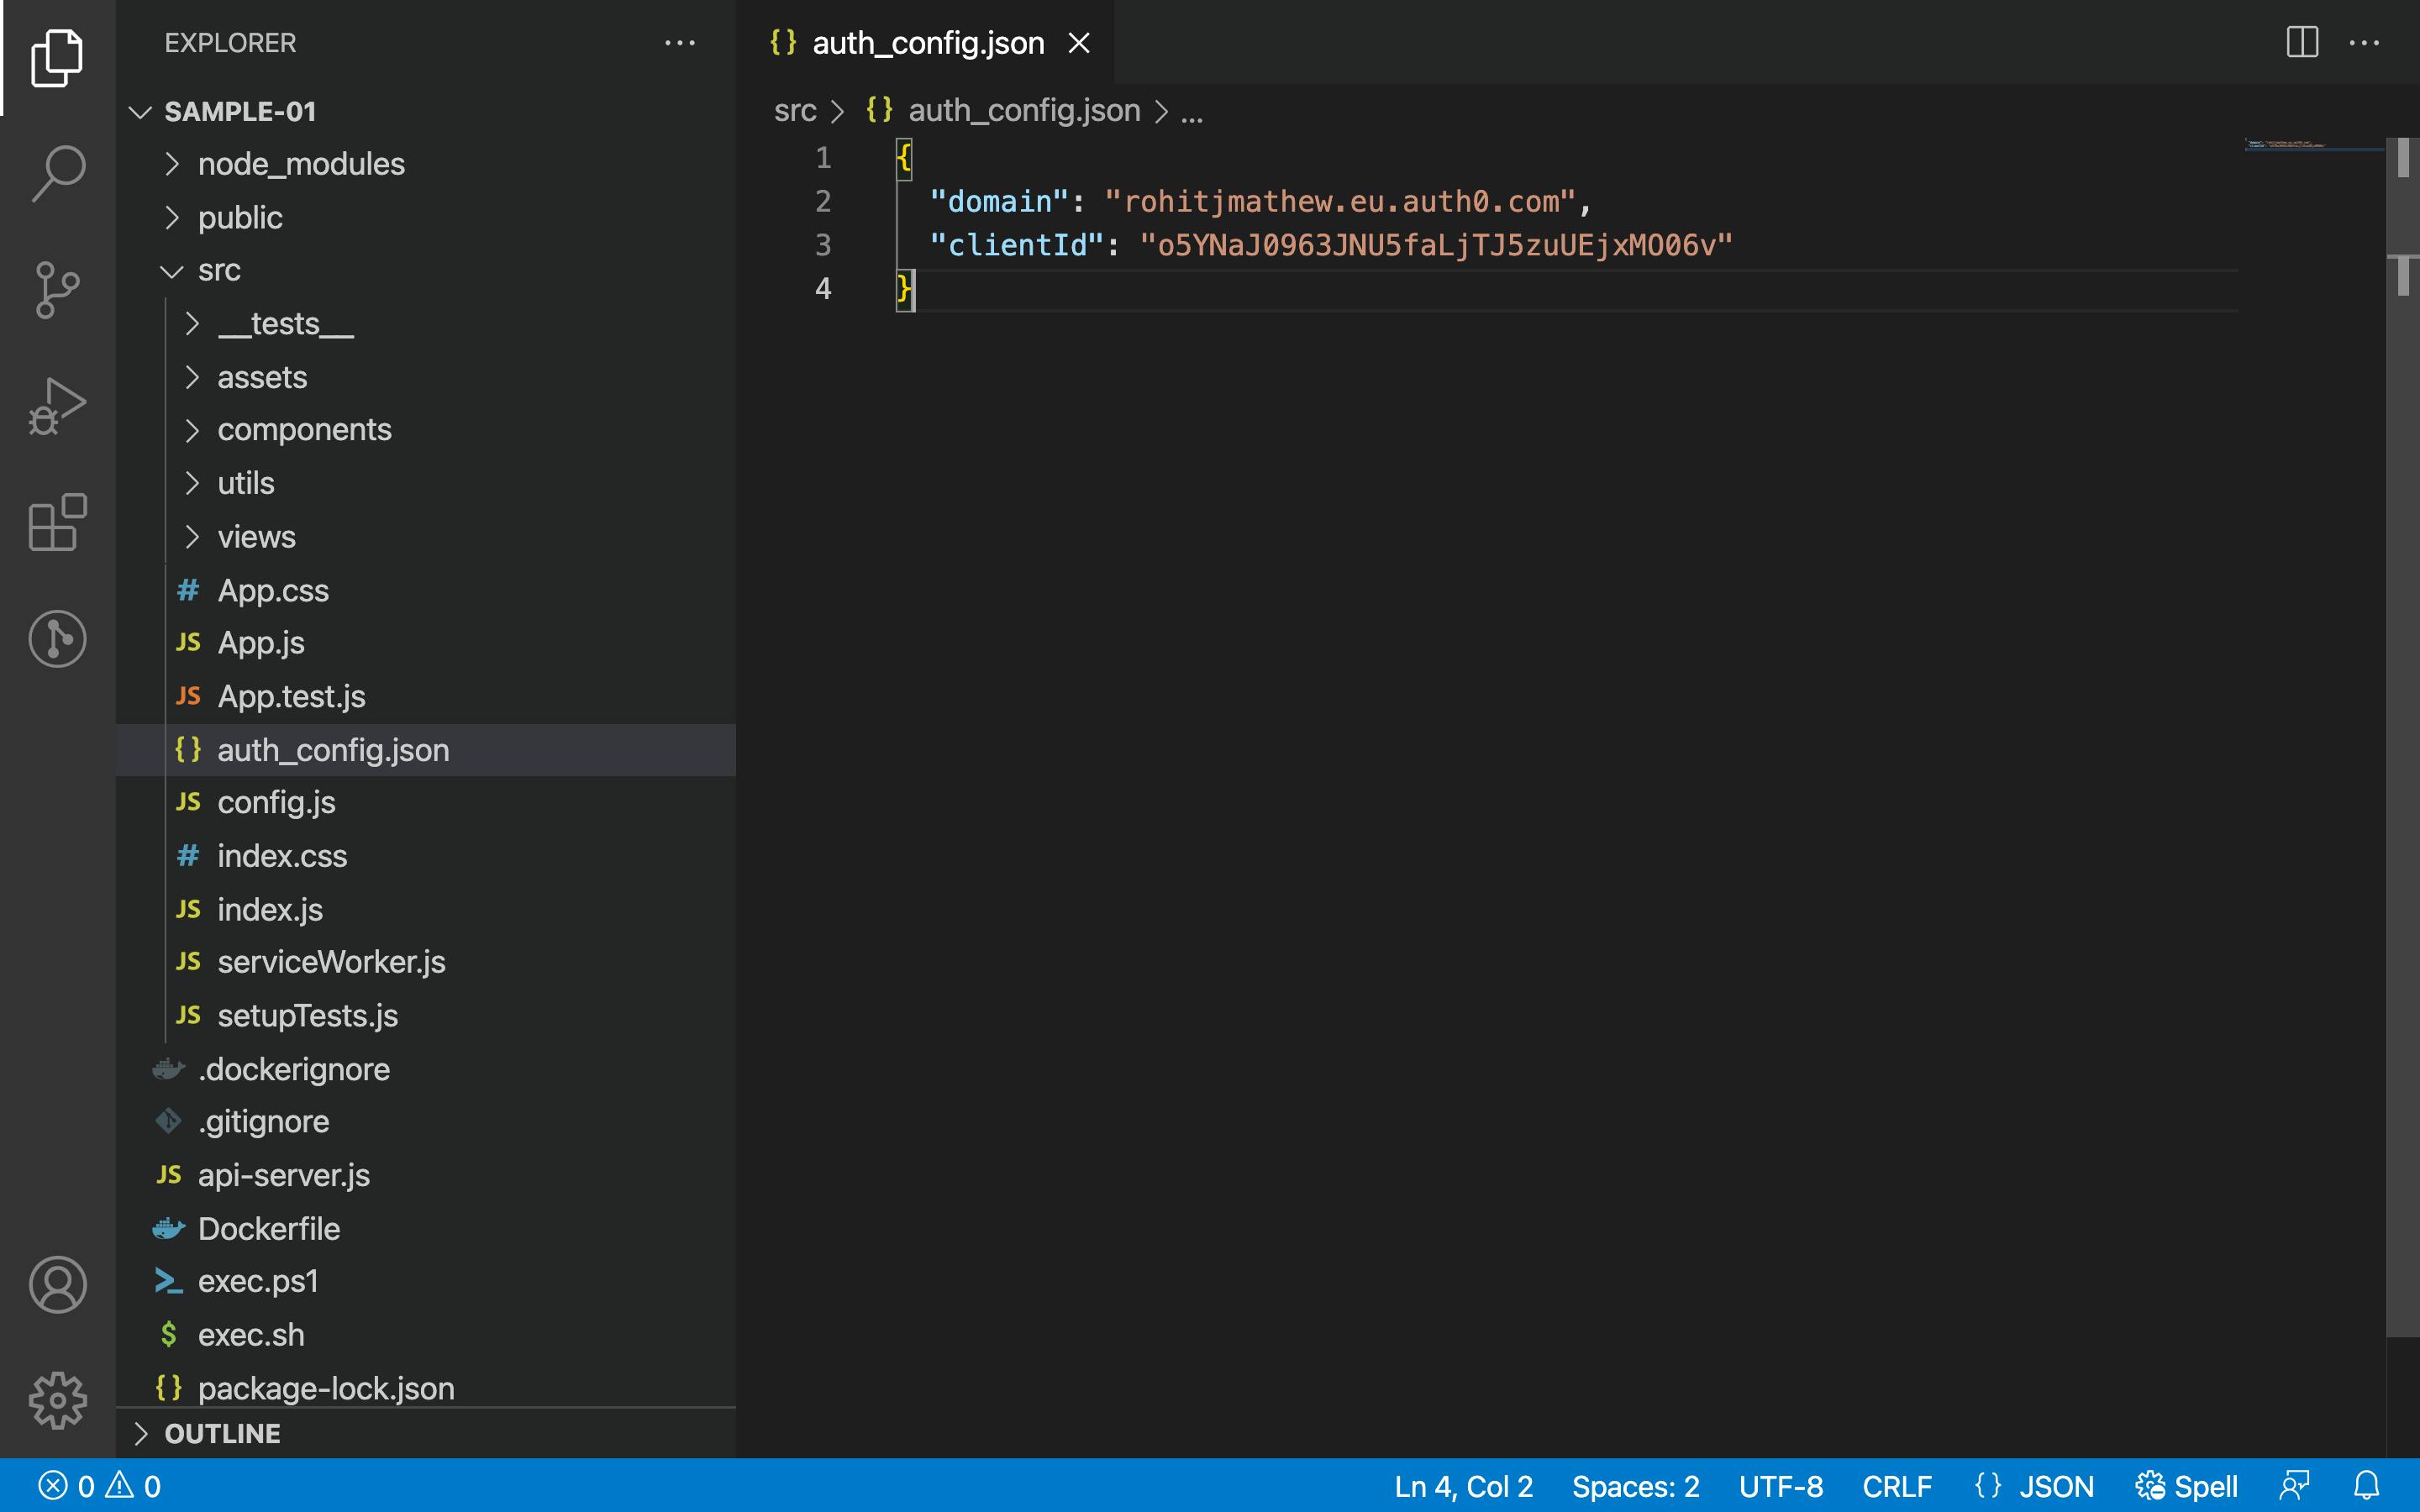
- Cross verify that the details of your application are correctly configured in
src/auth_config.json
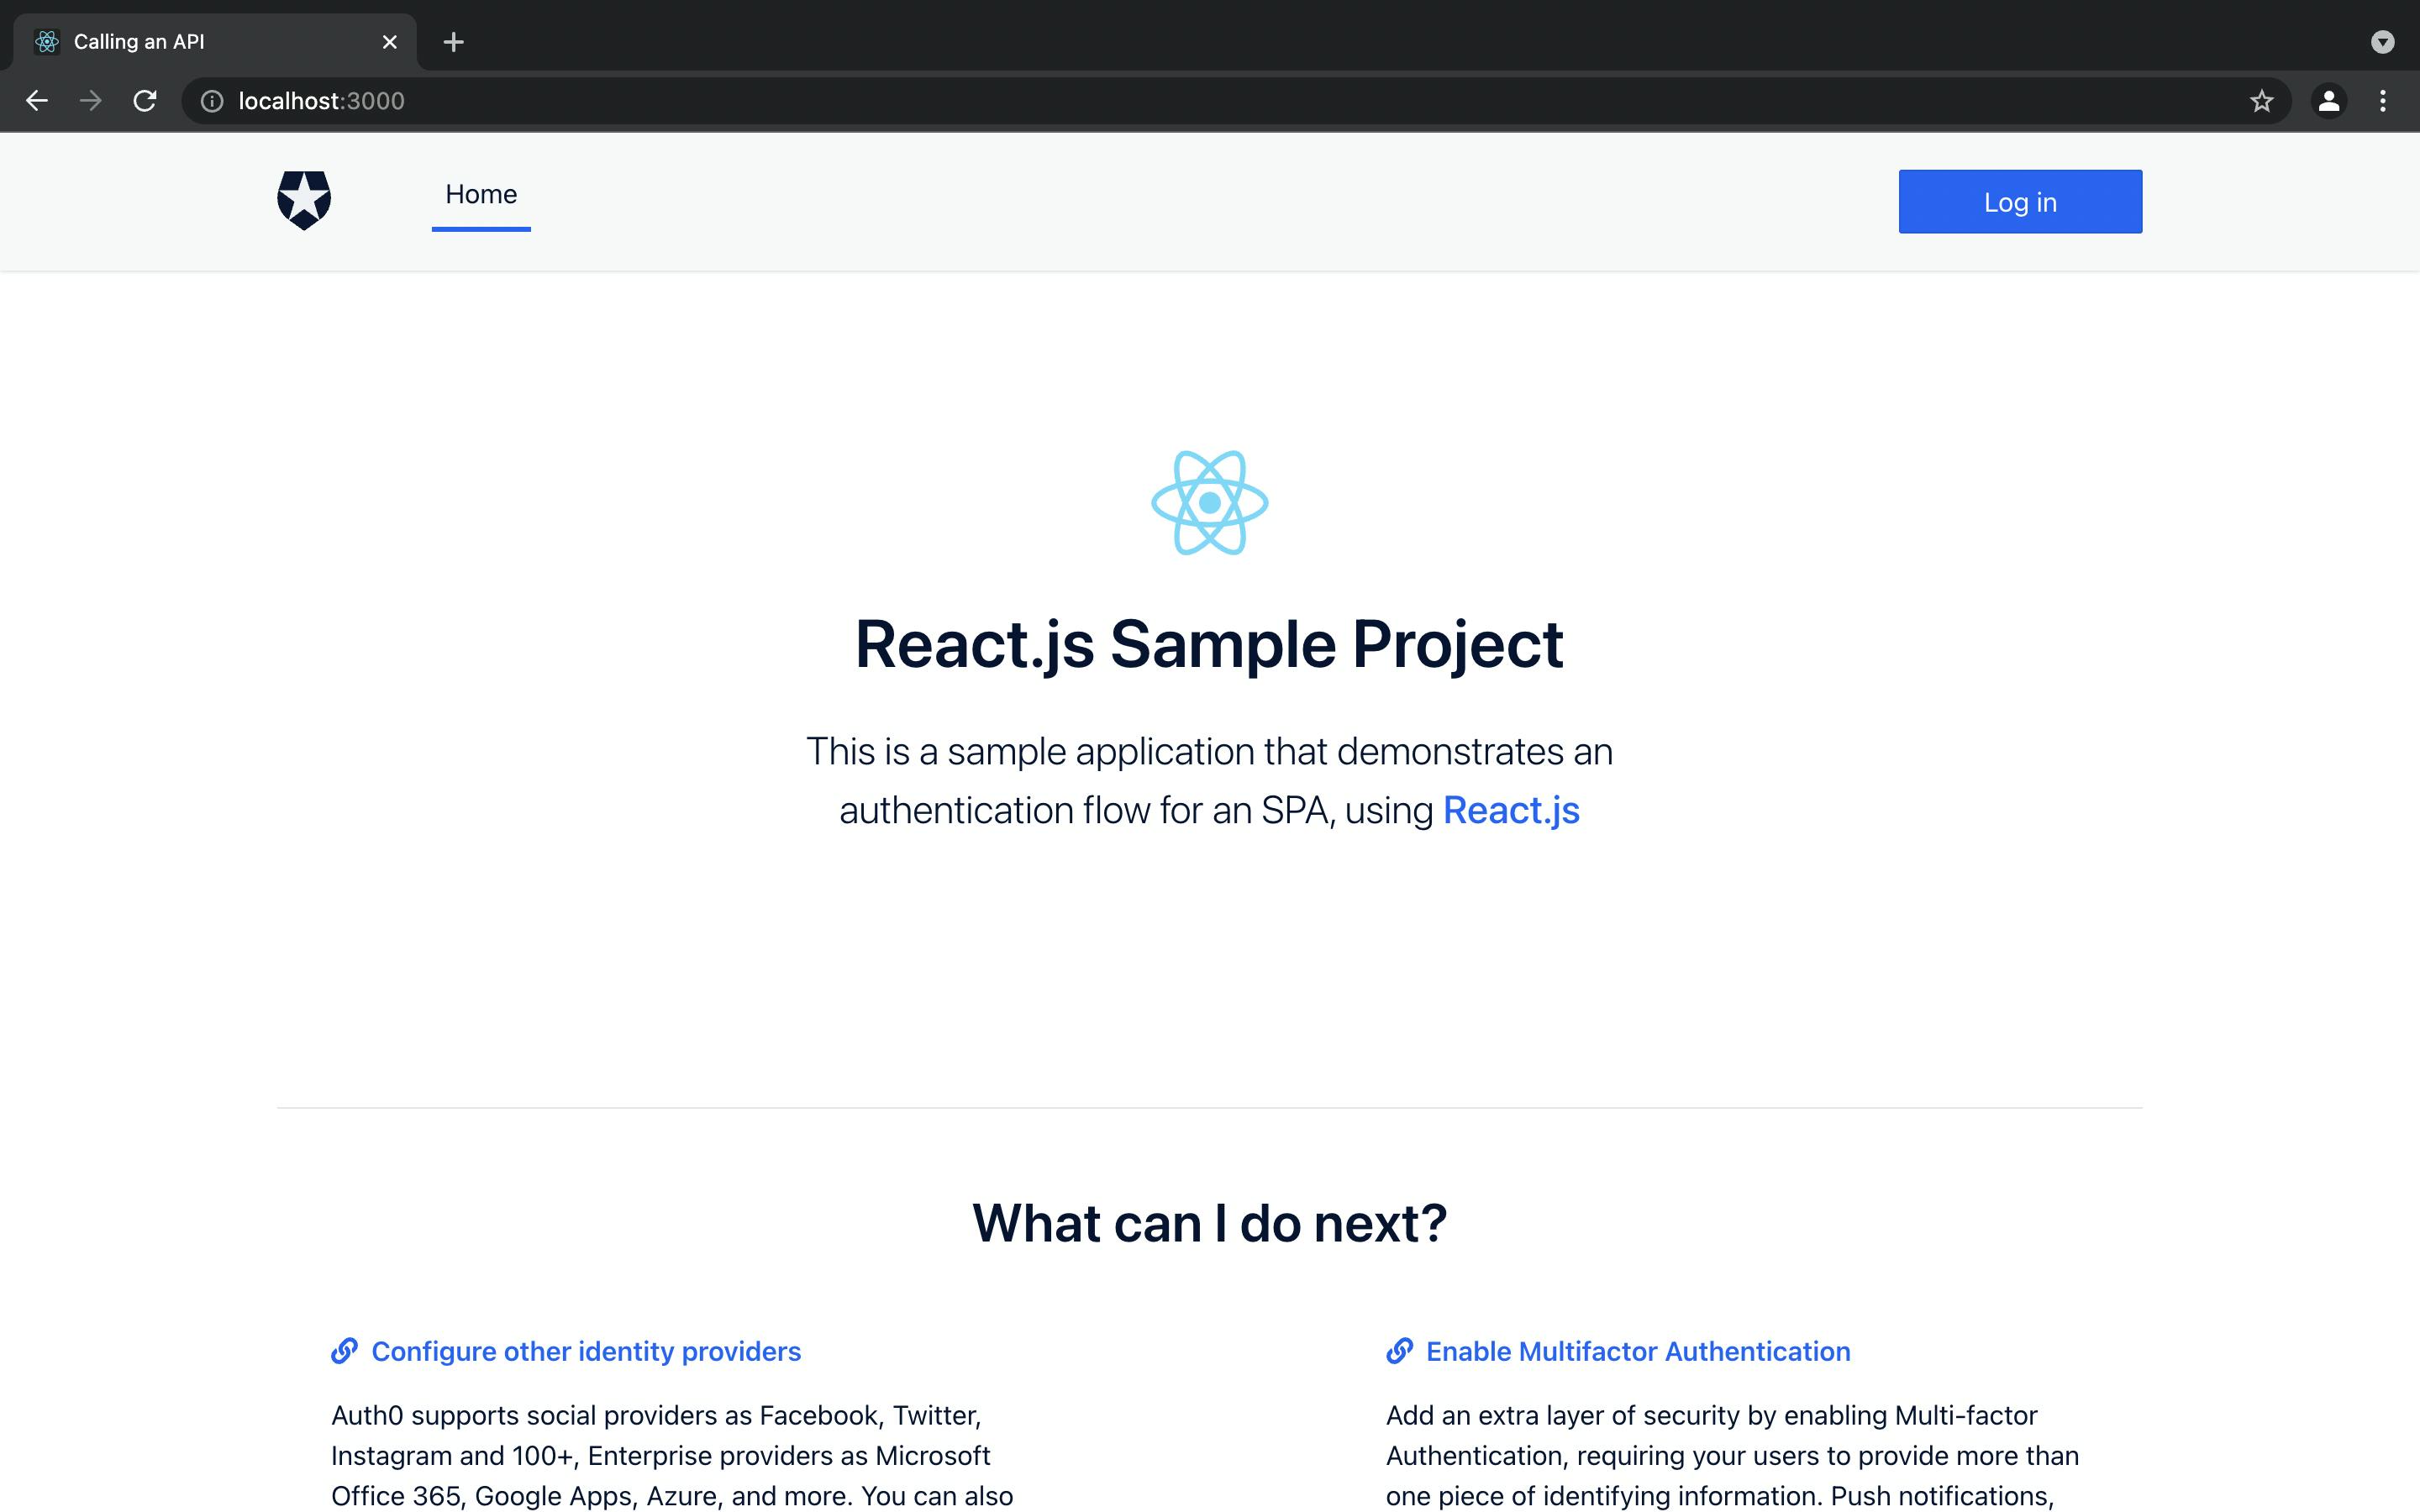
- We will run this code locally so install the dependencies and run it in dev mode (so we have hot reload enabled). To do this
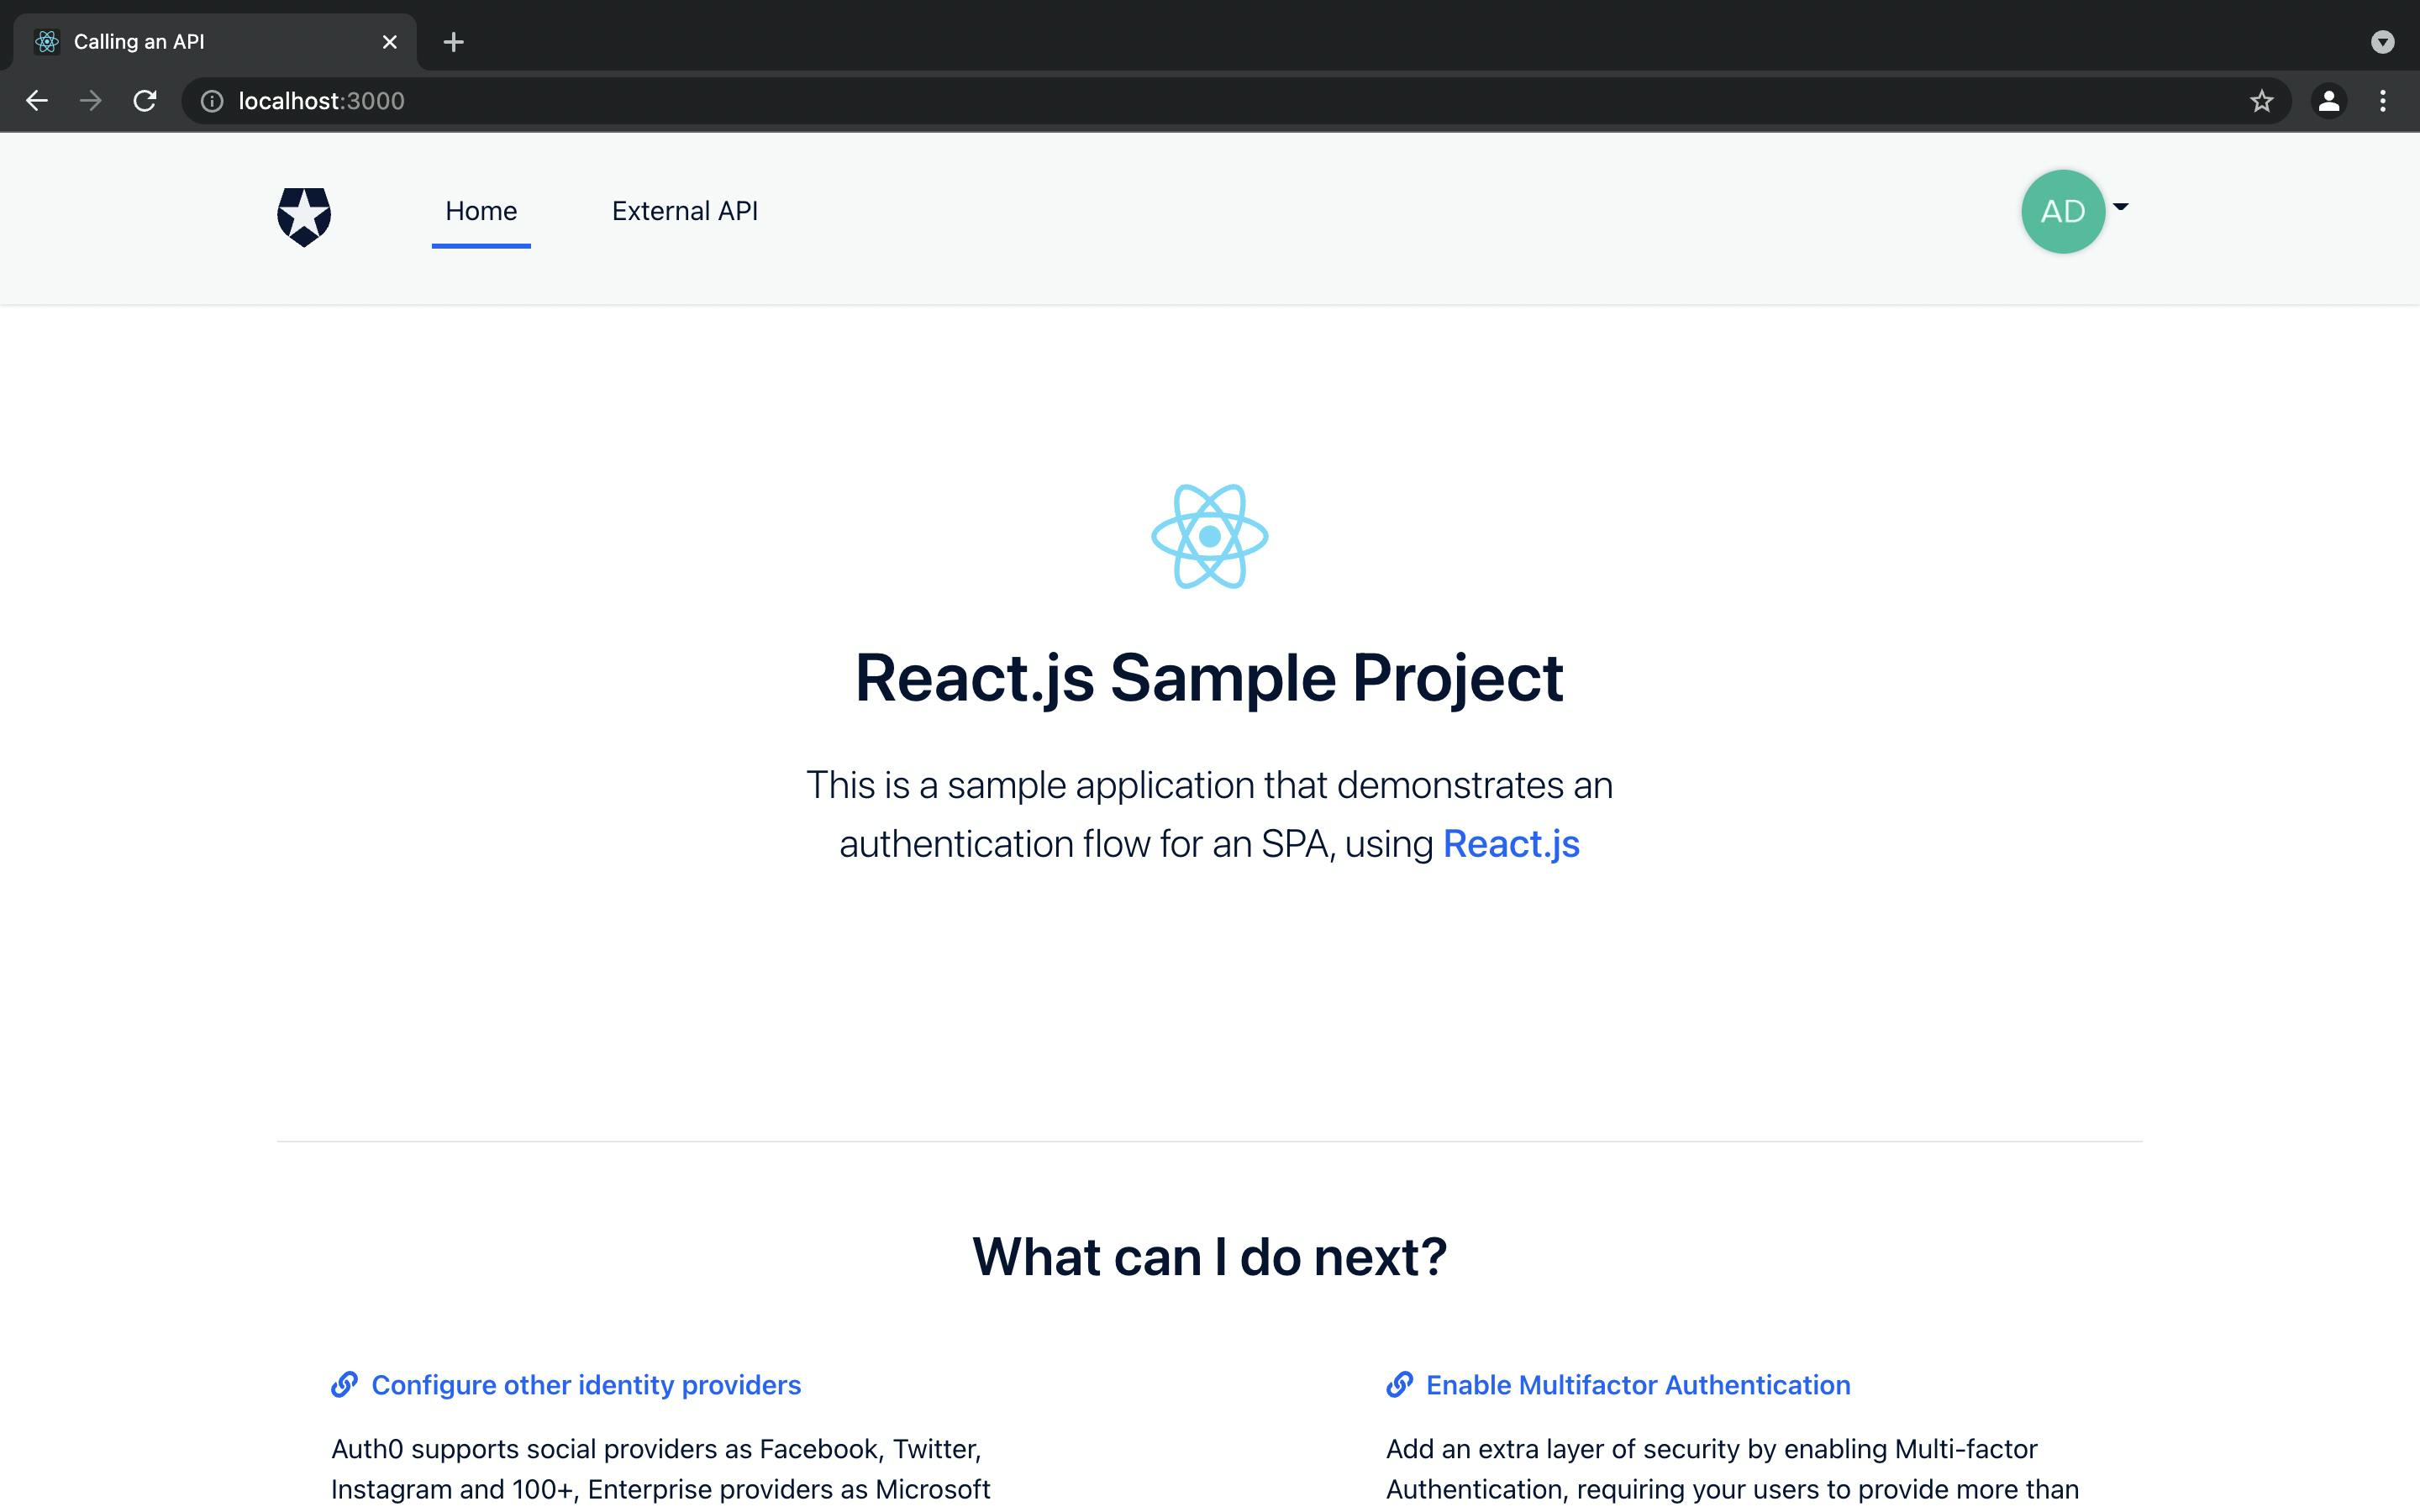
npm install & npm run dev - Once the application starts you should be shown a SPA like below. If you click on Log In it will take you to your login box.
4) Setup Users and Roles
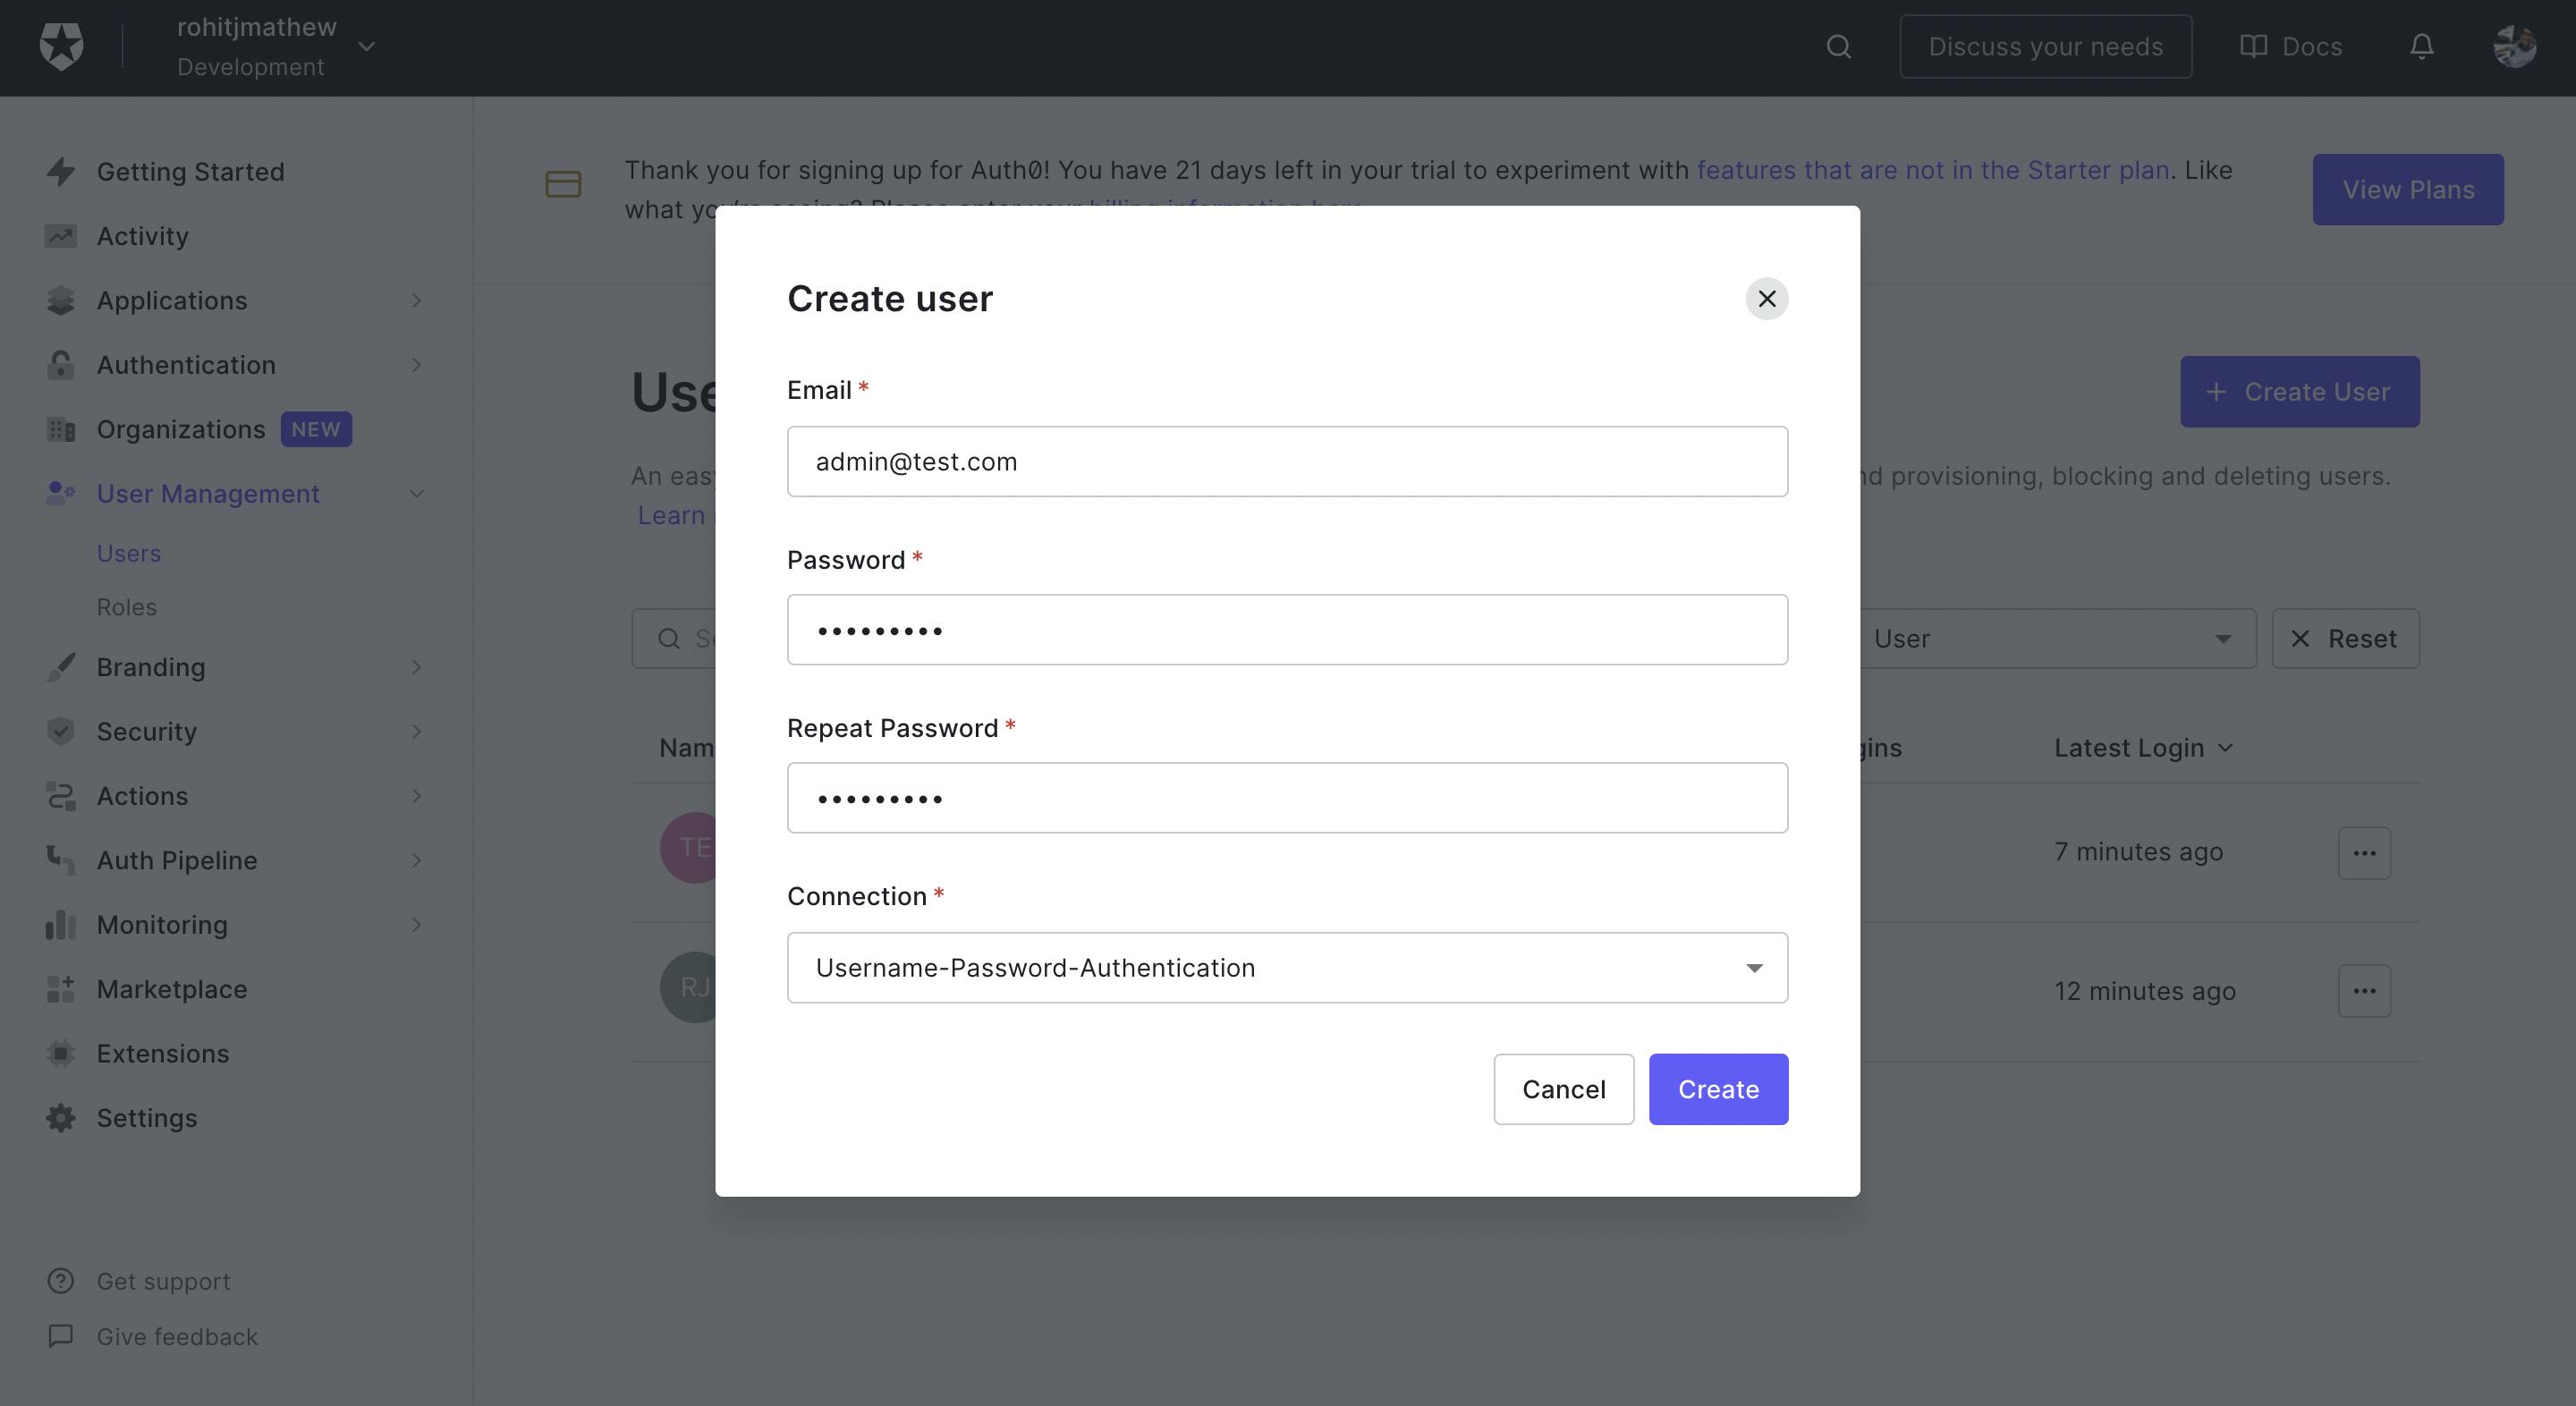
- Click on the User Management tab in the left sidebar.
Go to the Users tab and click on the Create User button. We need to create 2 users:
- Admin User
- Test User
Remember these credentials as these are the test users we will use for this demo.
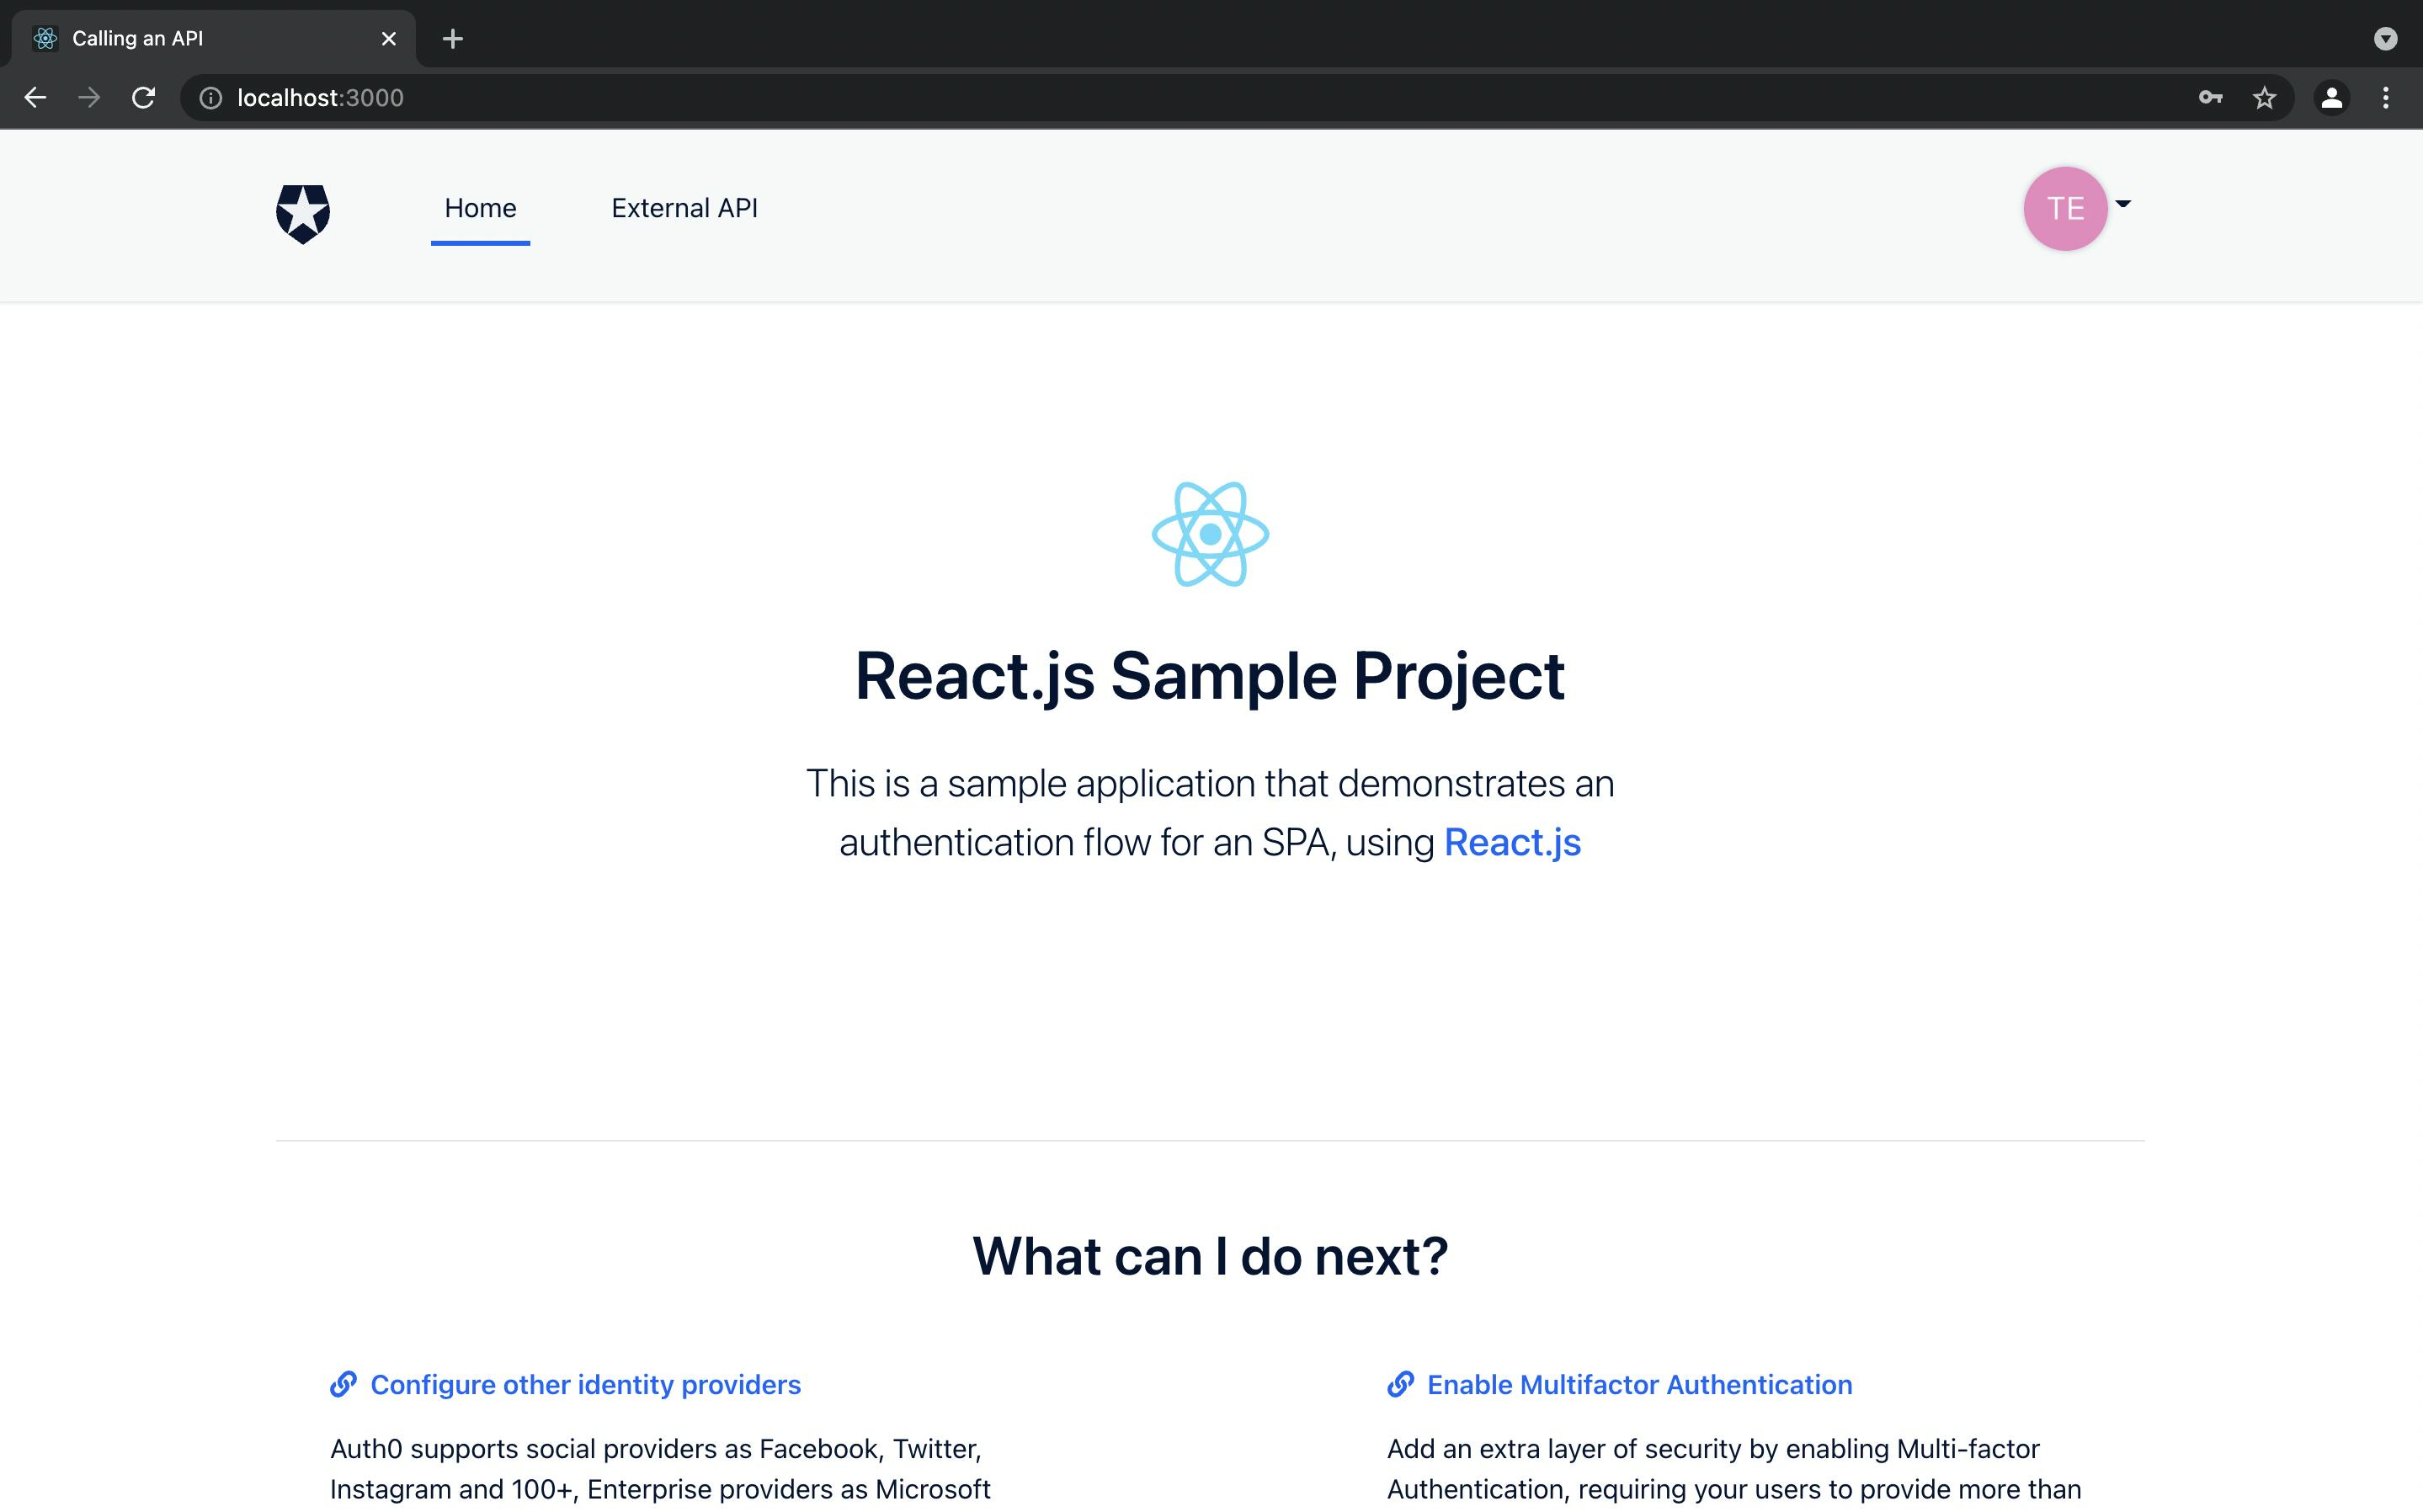
Go to the Roles tab and click on the Create Role button. Call the role
Adminand once created go to the user tab and assign it to your Admin user.Once this is done go back to your locally running SPA and try logging in with one credential. You should be able to access a user portal like below.
5) Setup Actions
- Click on the Actions Tab in the left sidebar
- Go to the Flows category
- Select the Login Flow. This will run the flow of an action once the login process in your login box is complete.
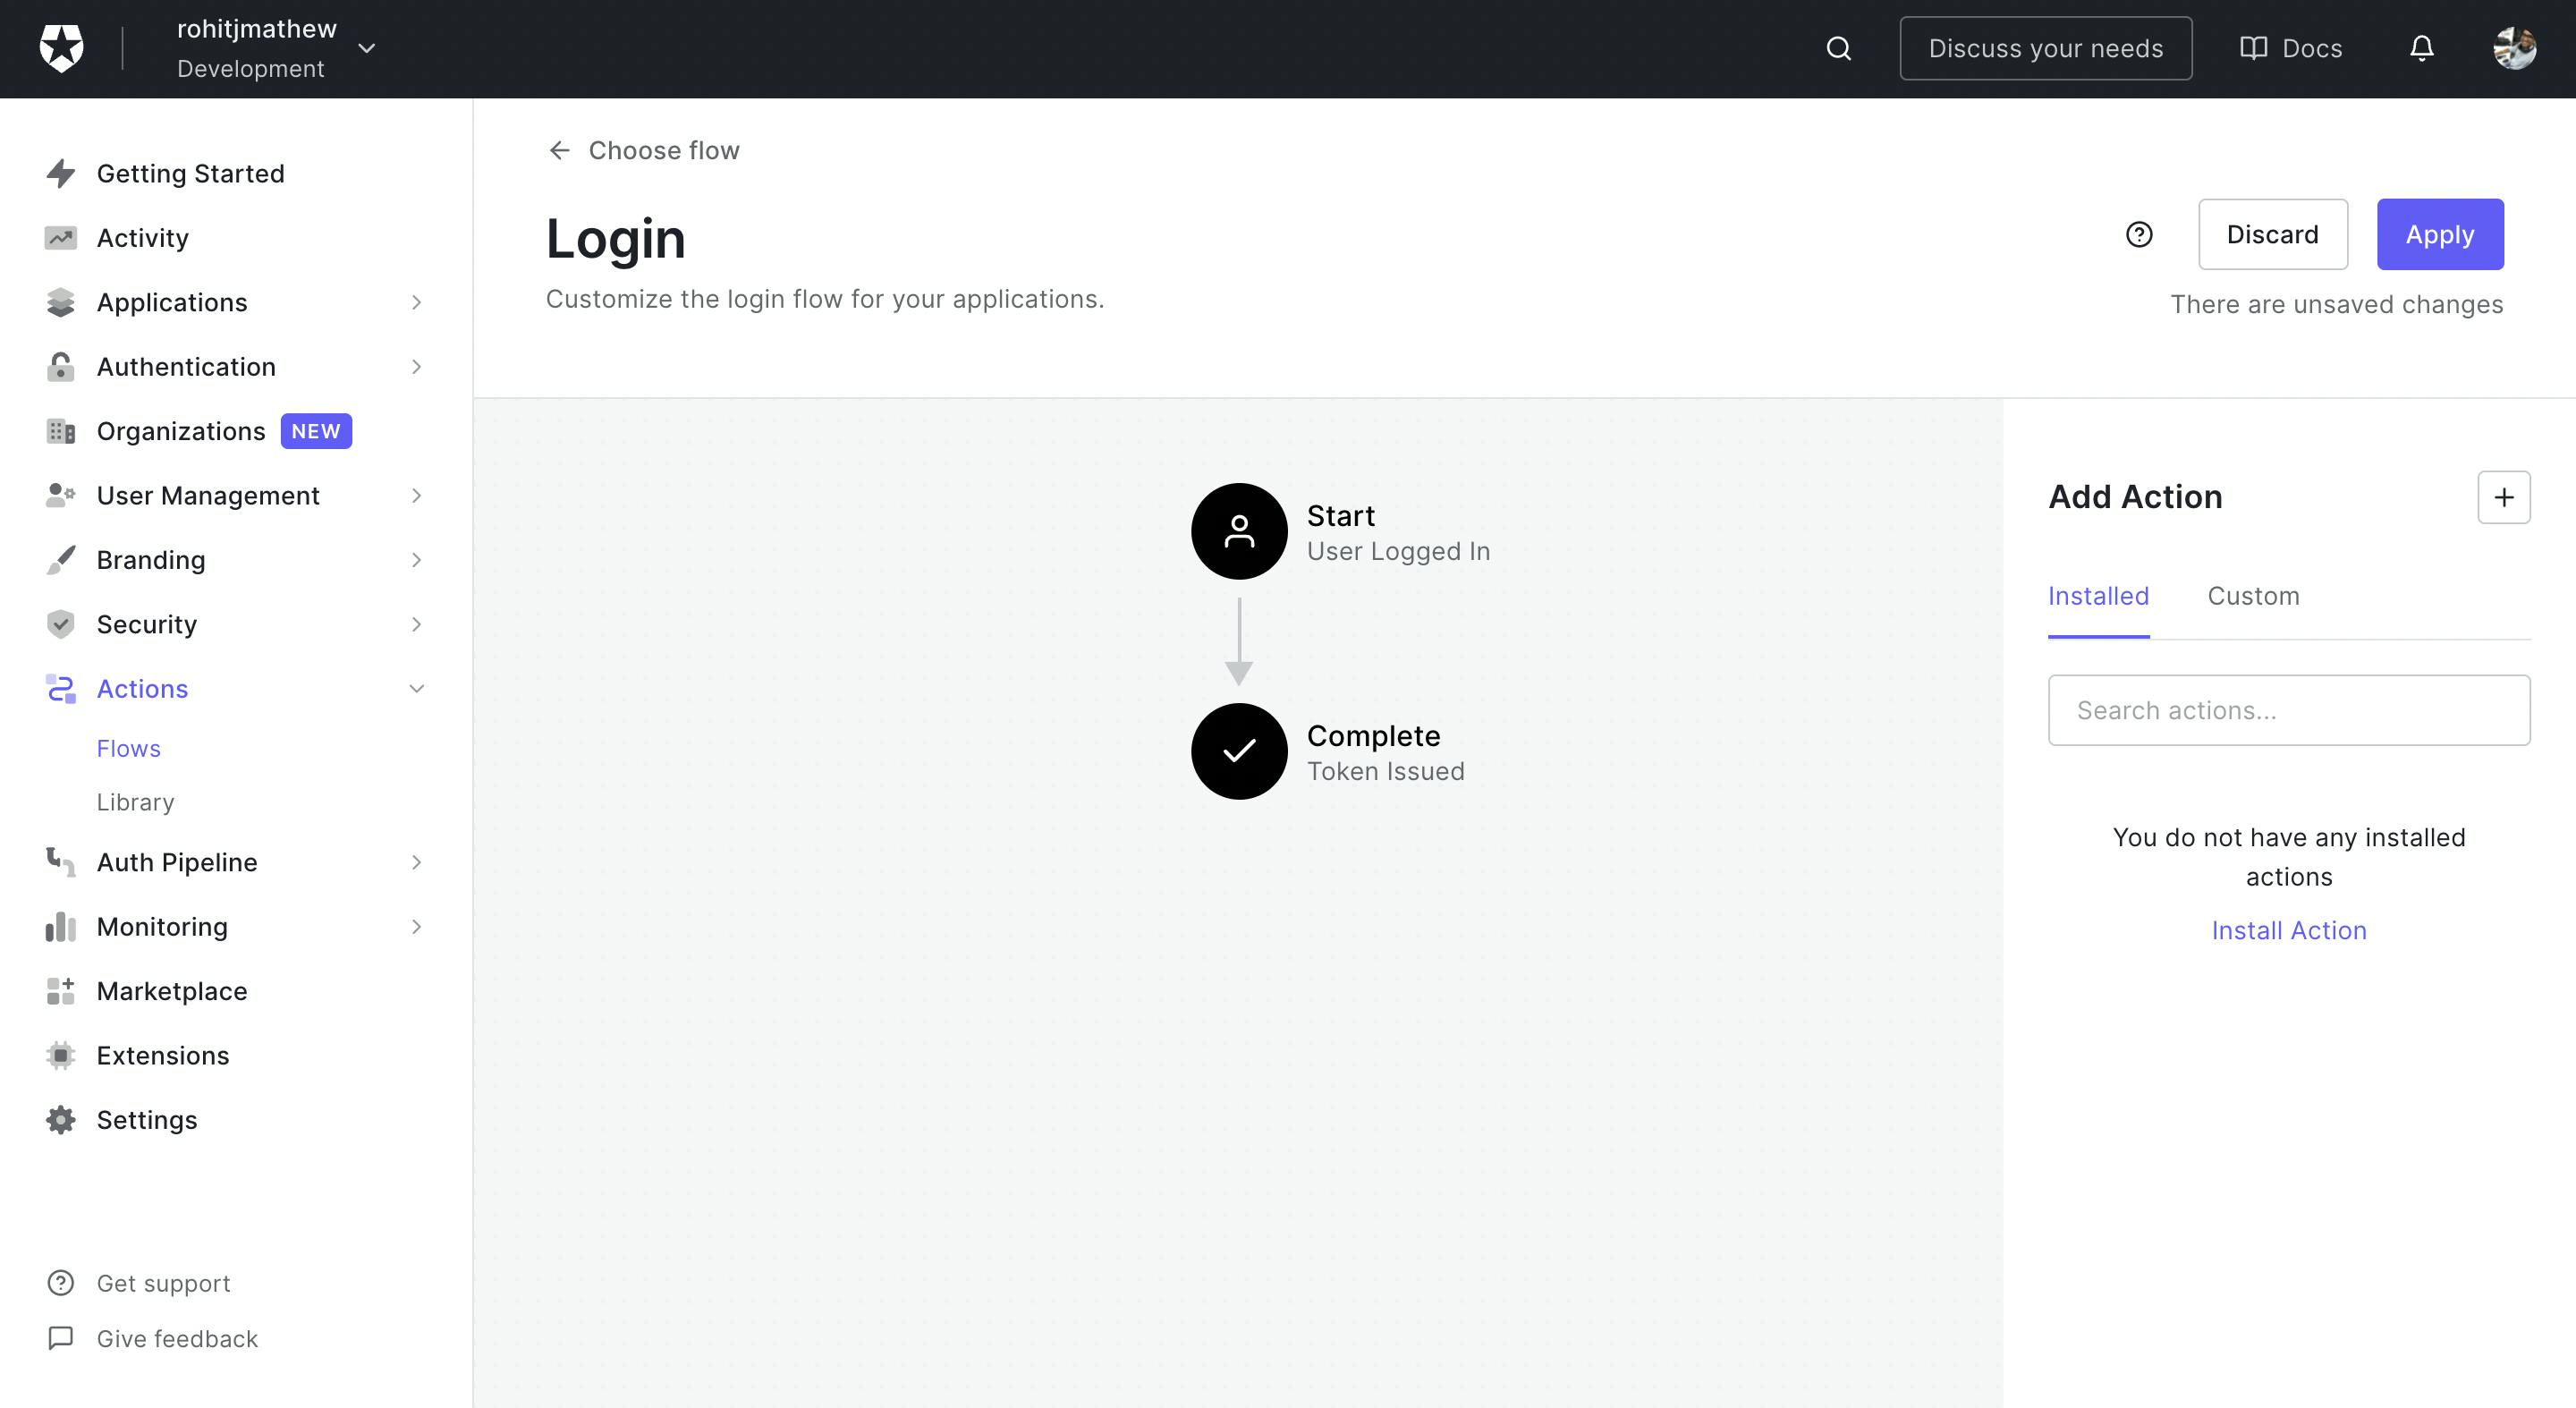
- Click on the
+button in Add Action and select Build Custom. - Name it MFA for Role and leave the rest as is.
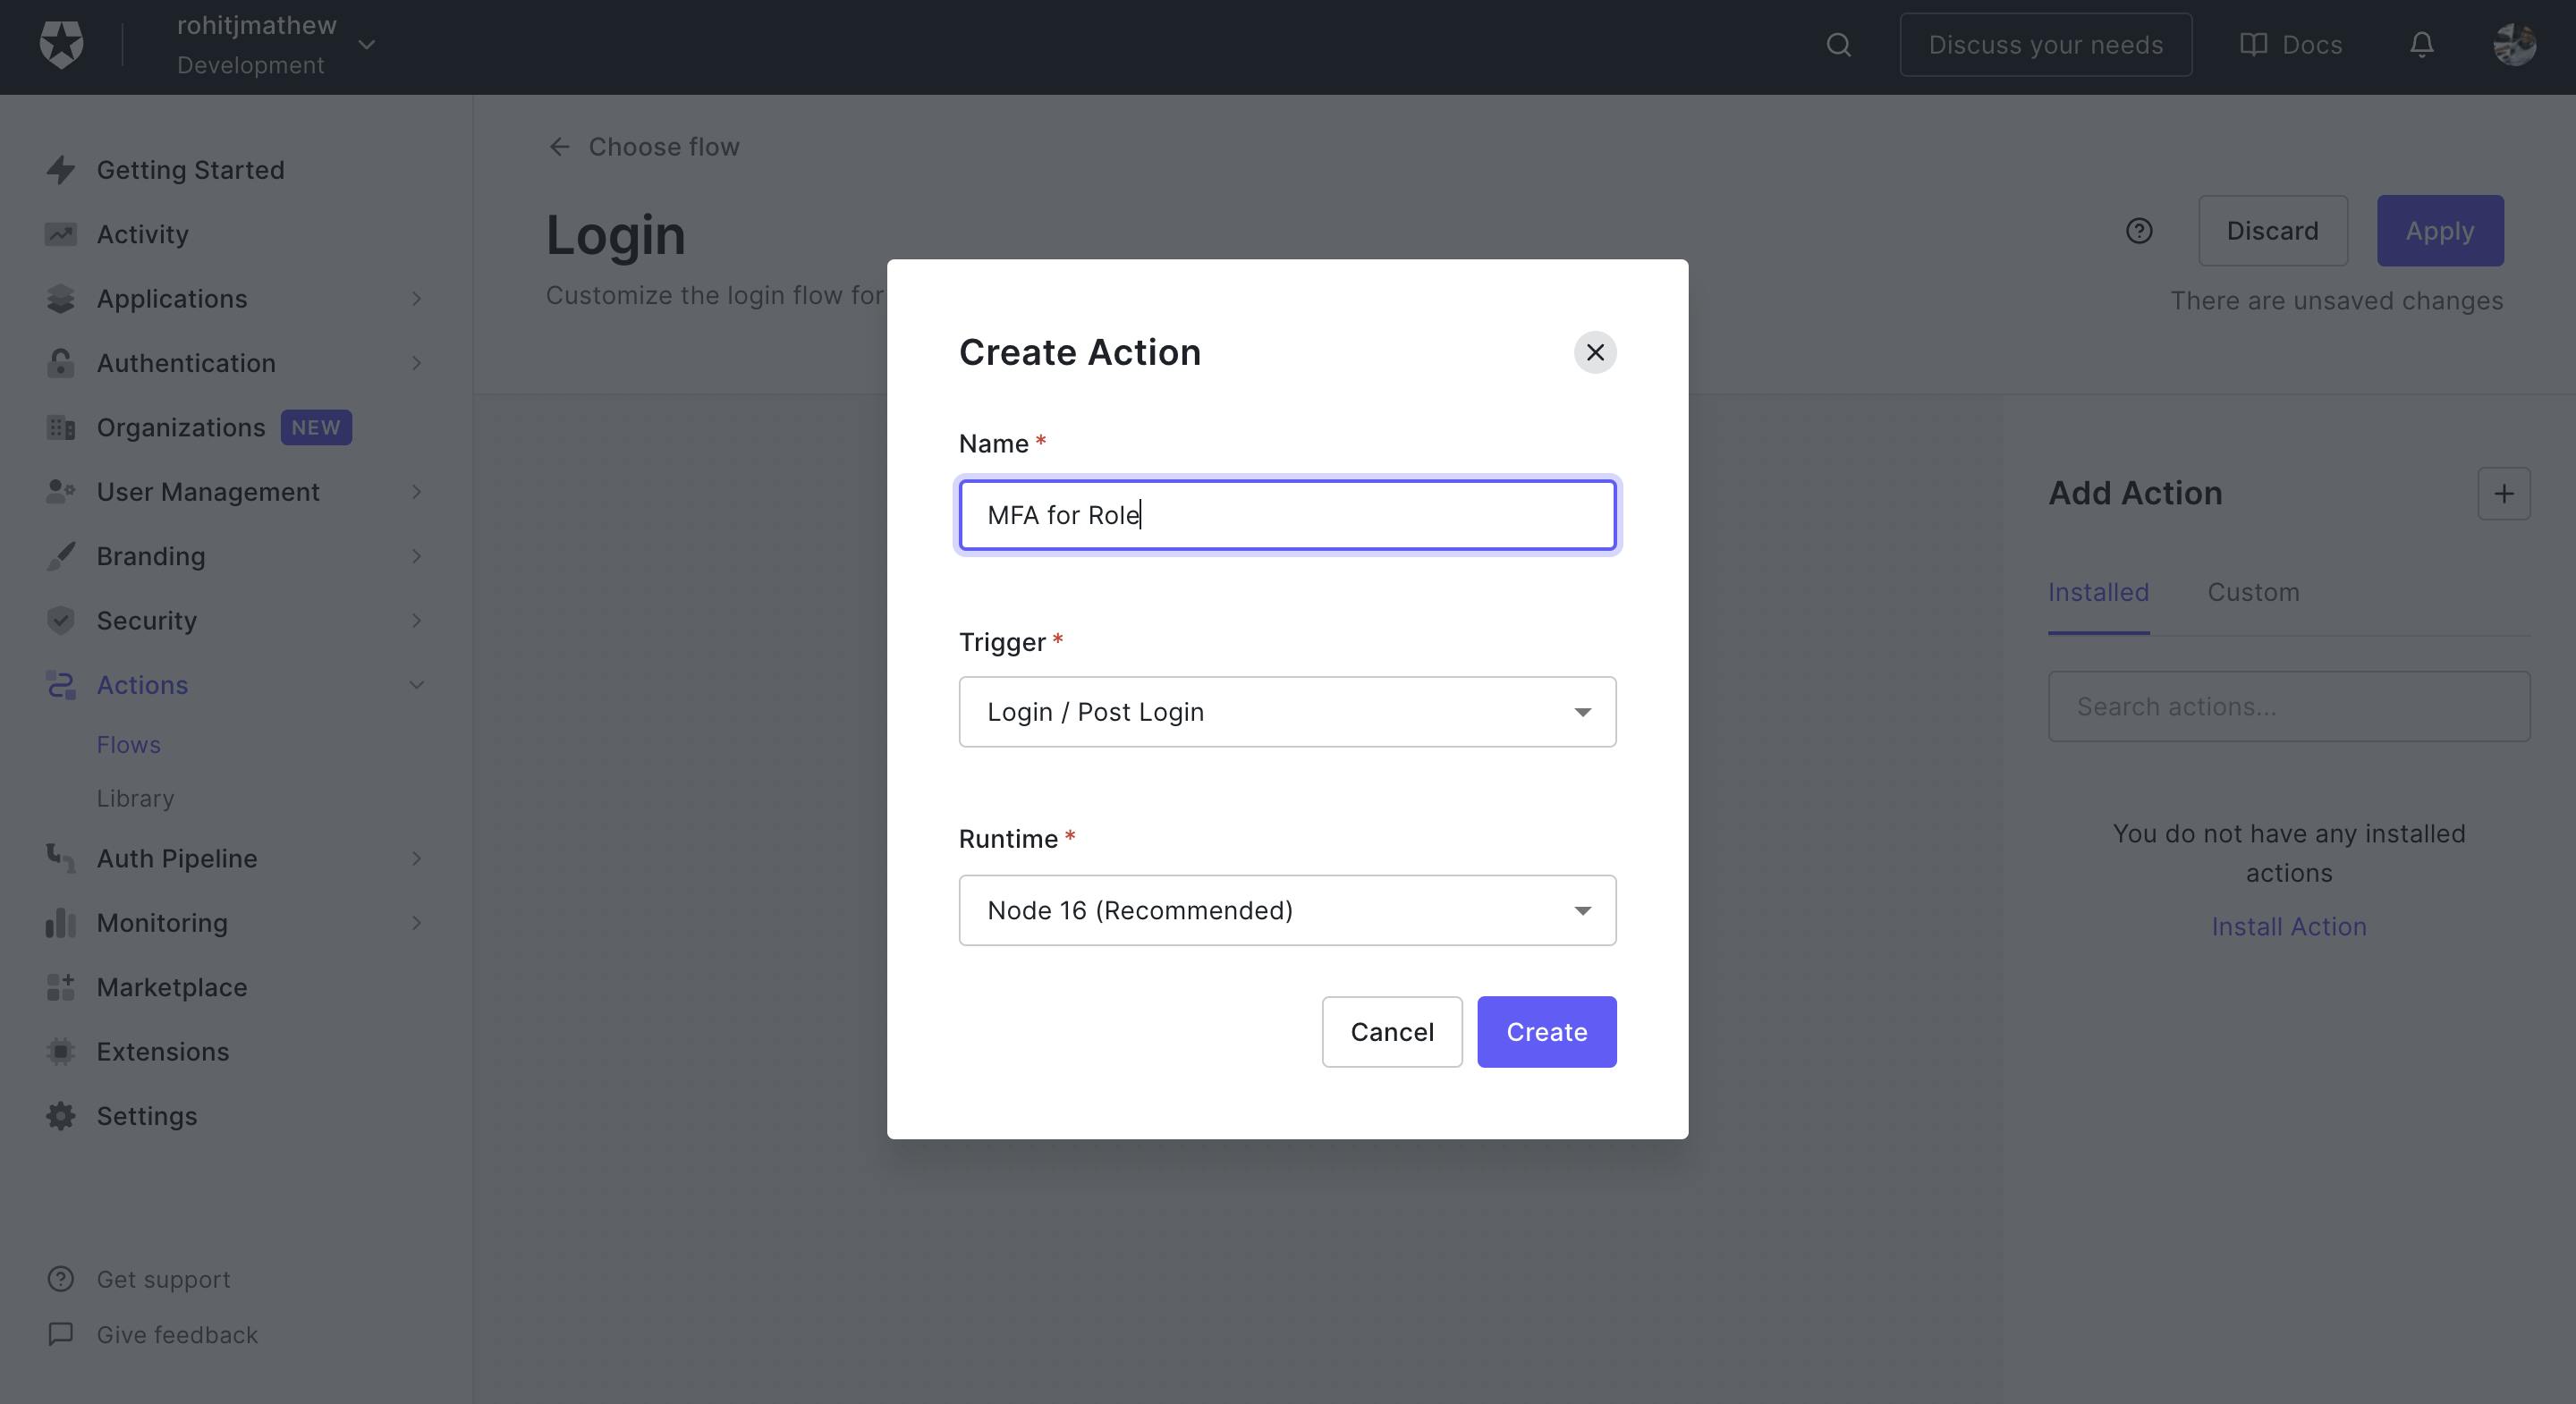
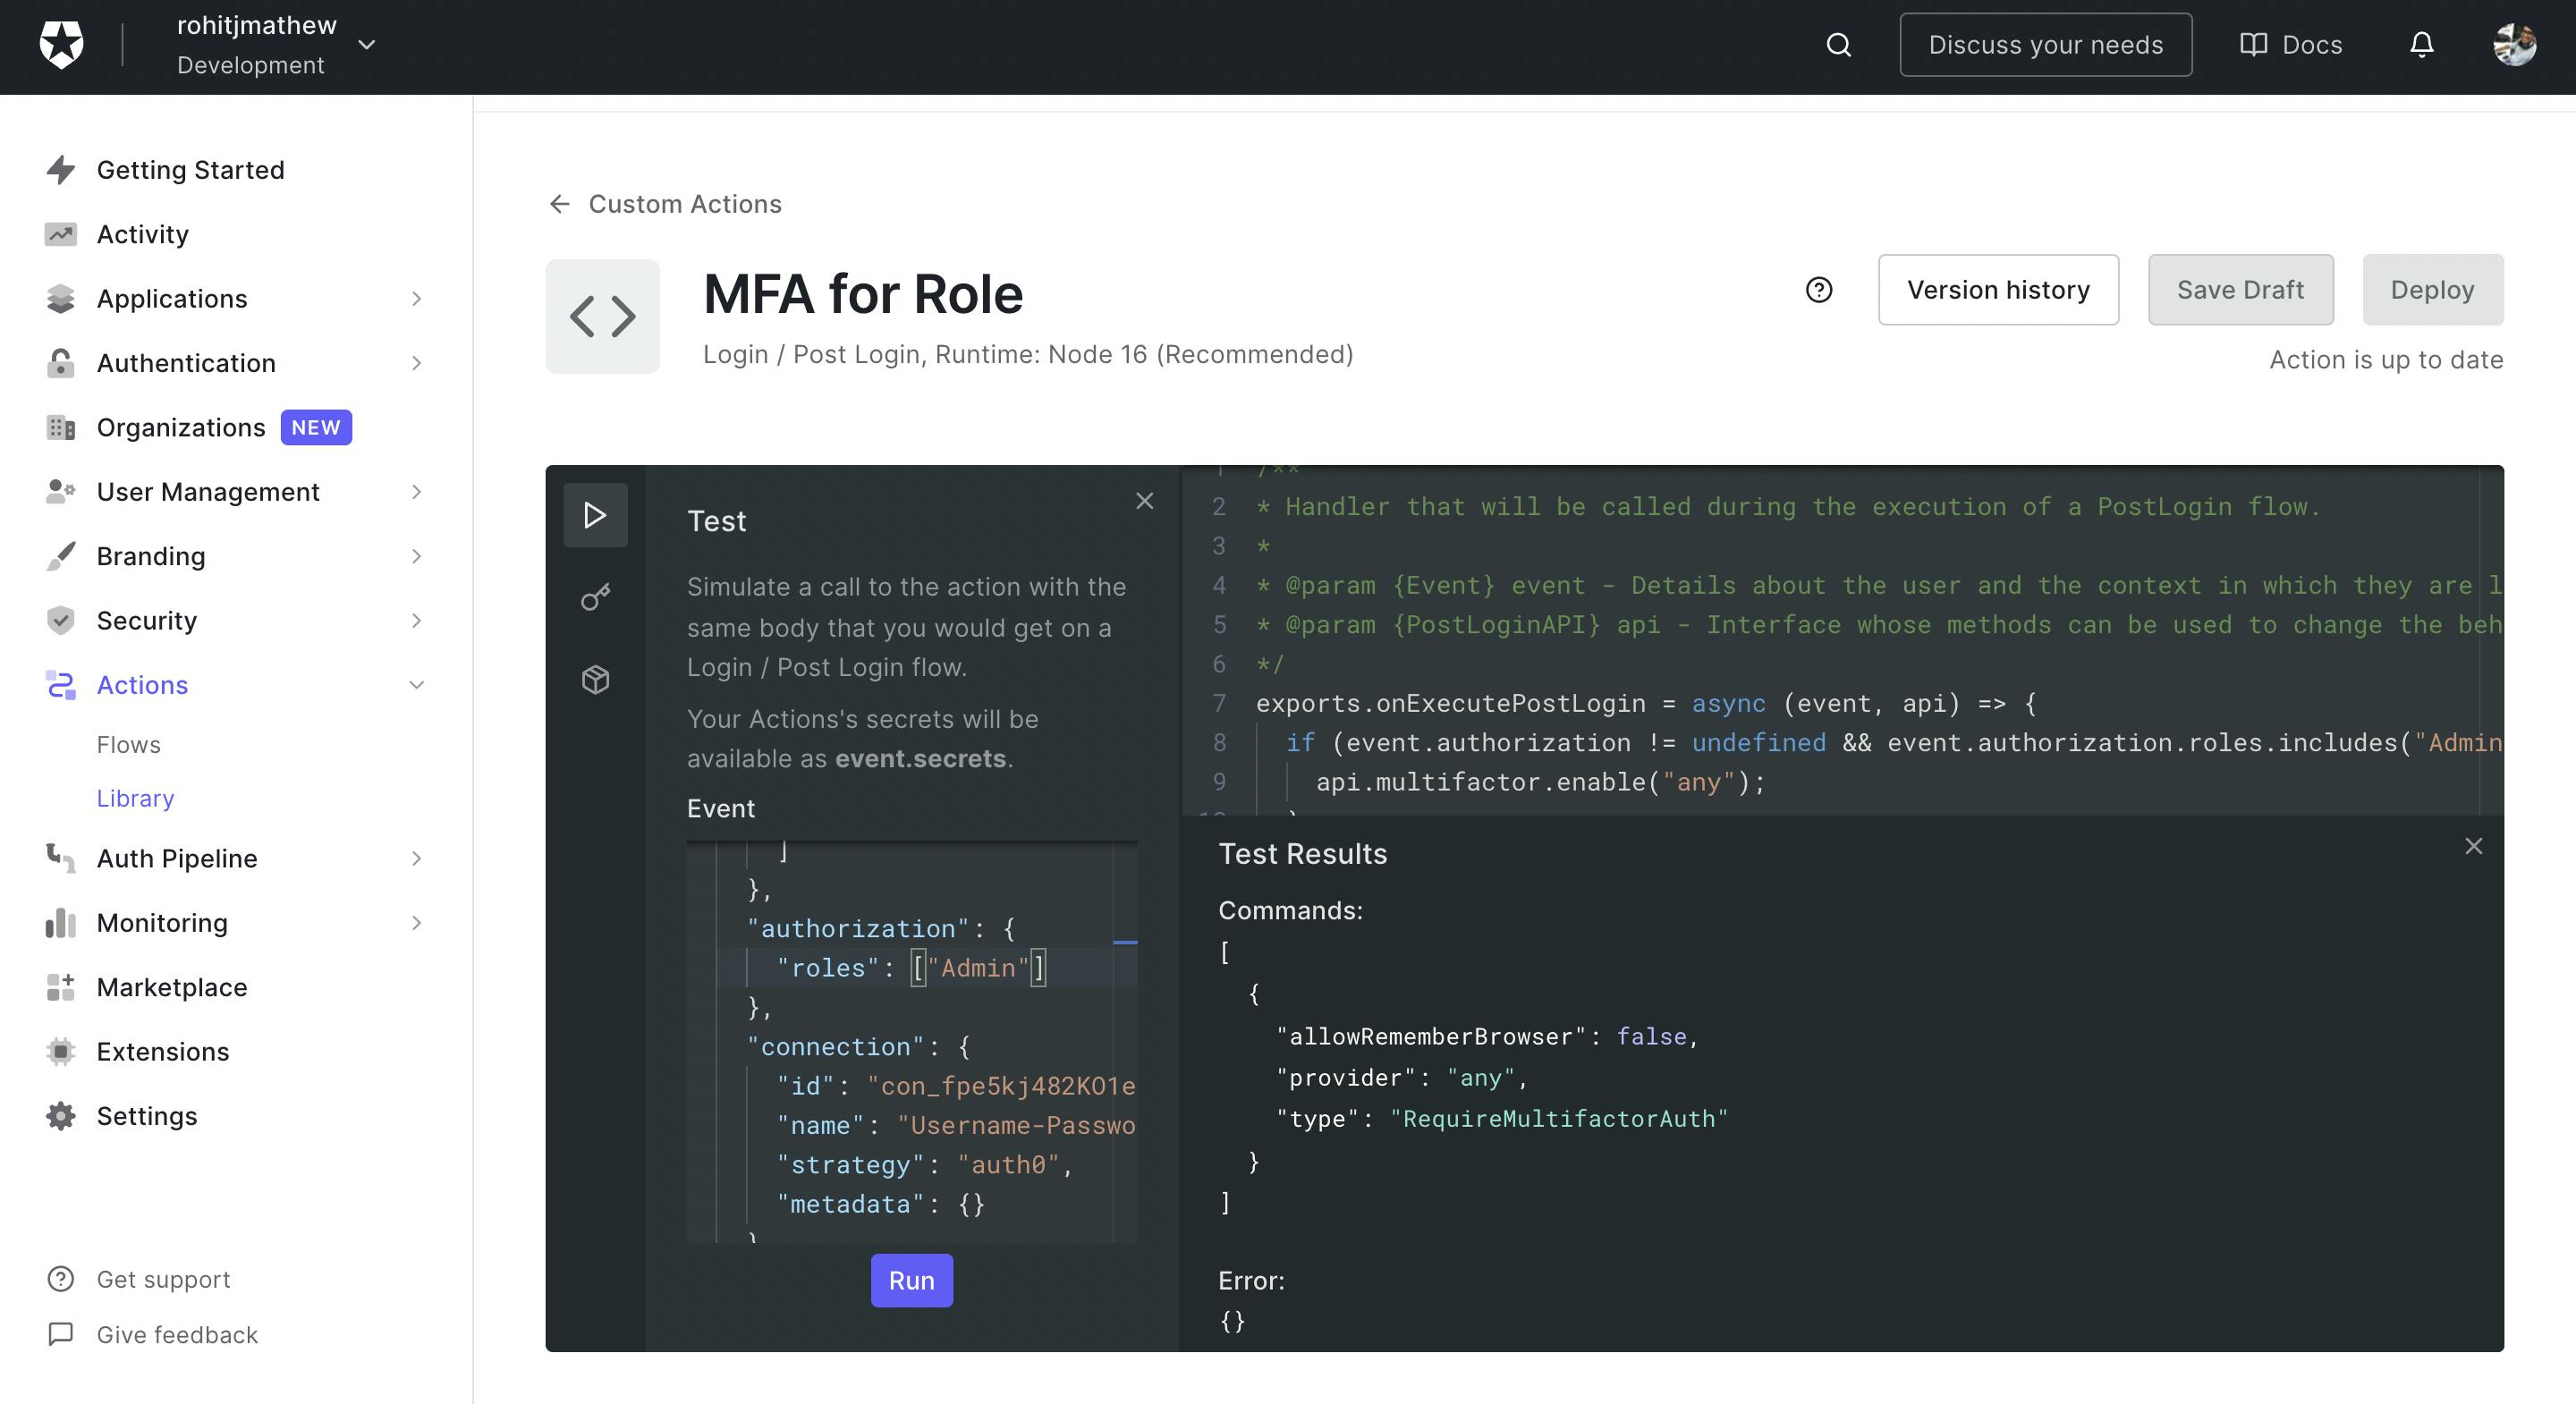
- Once Created you come to a screen as follows
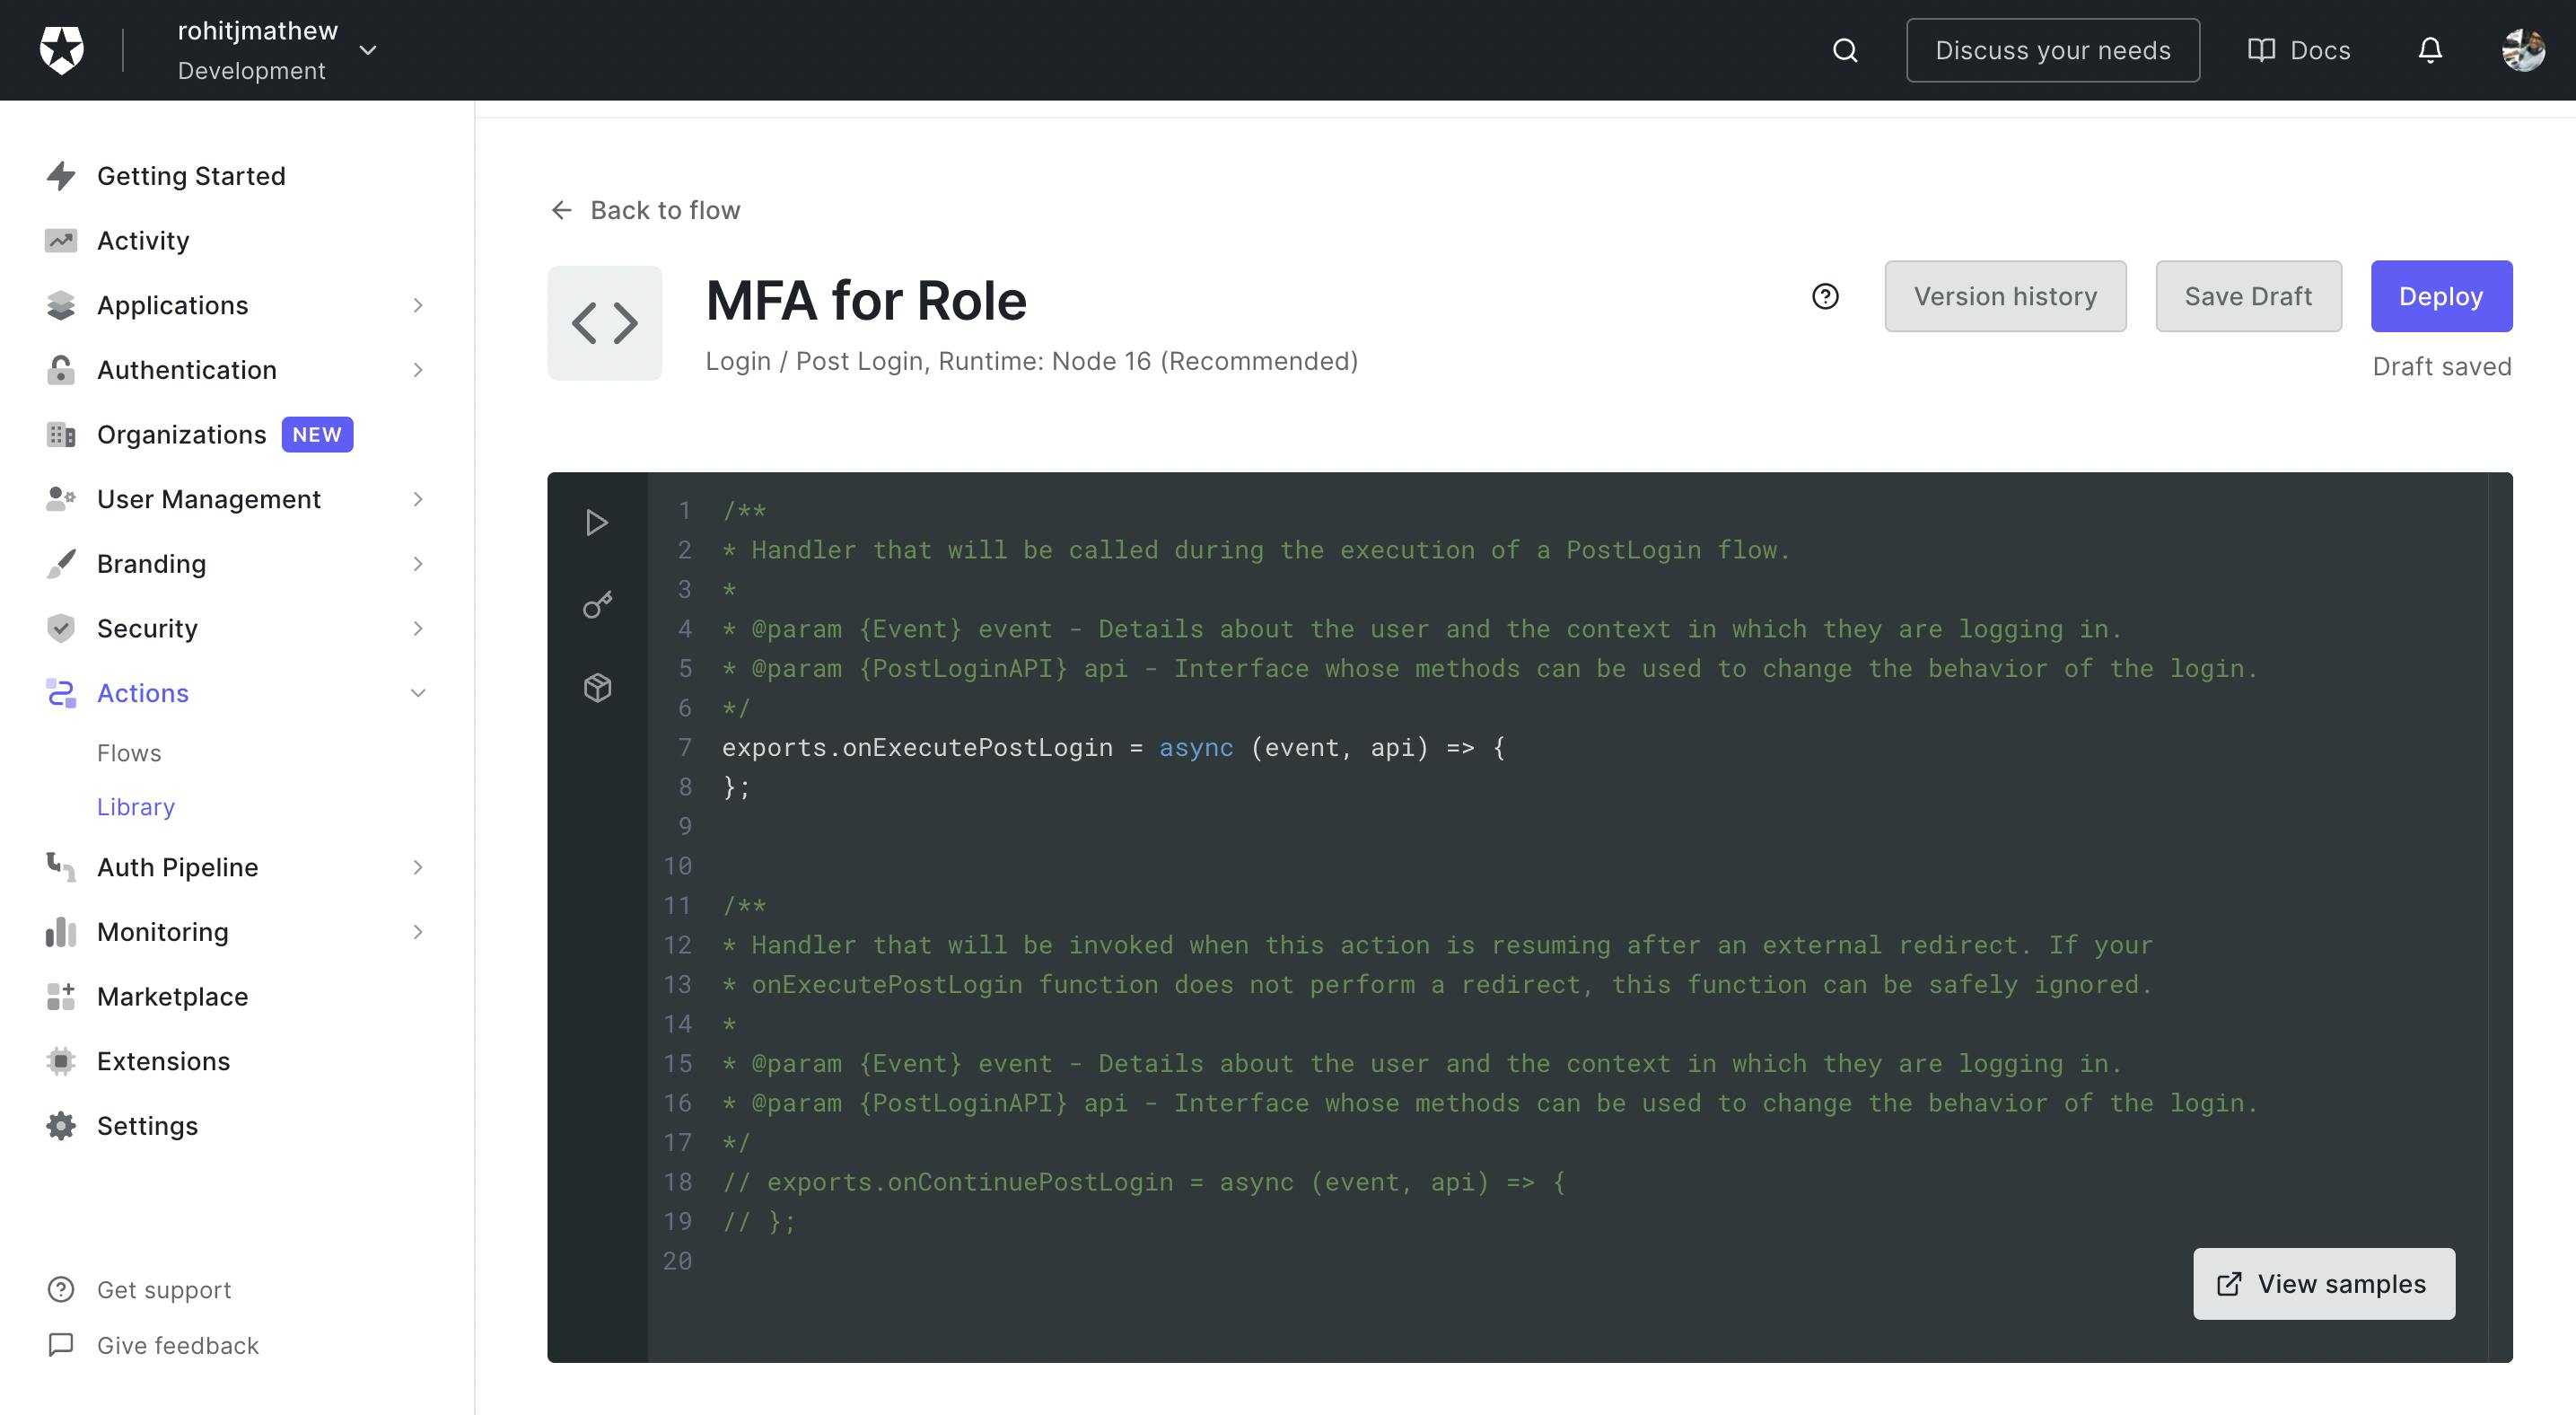
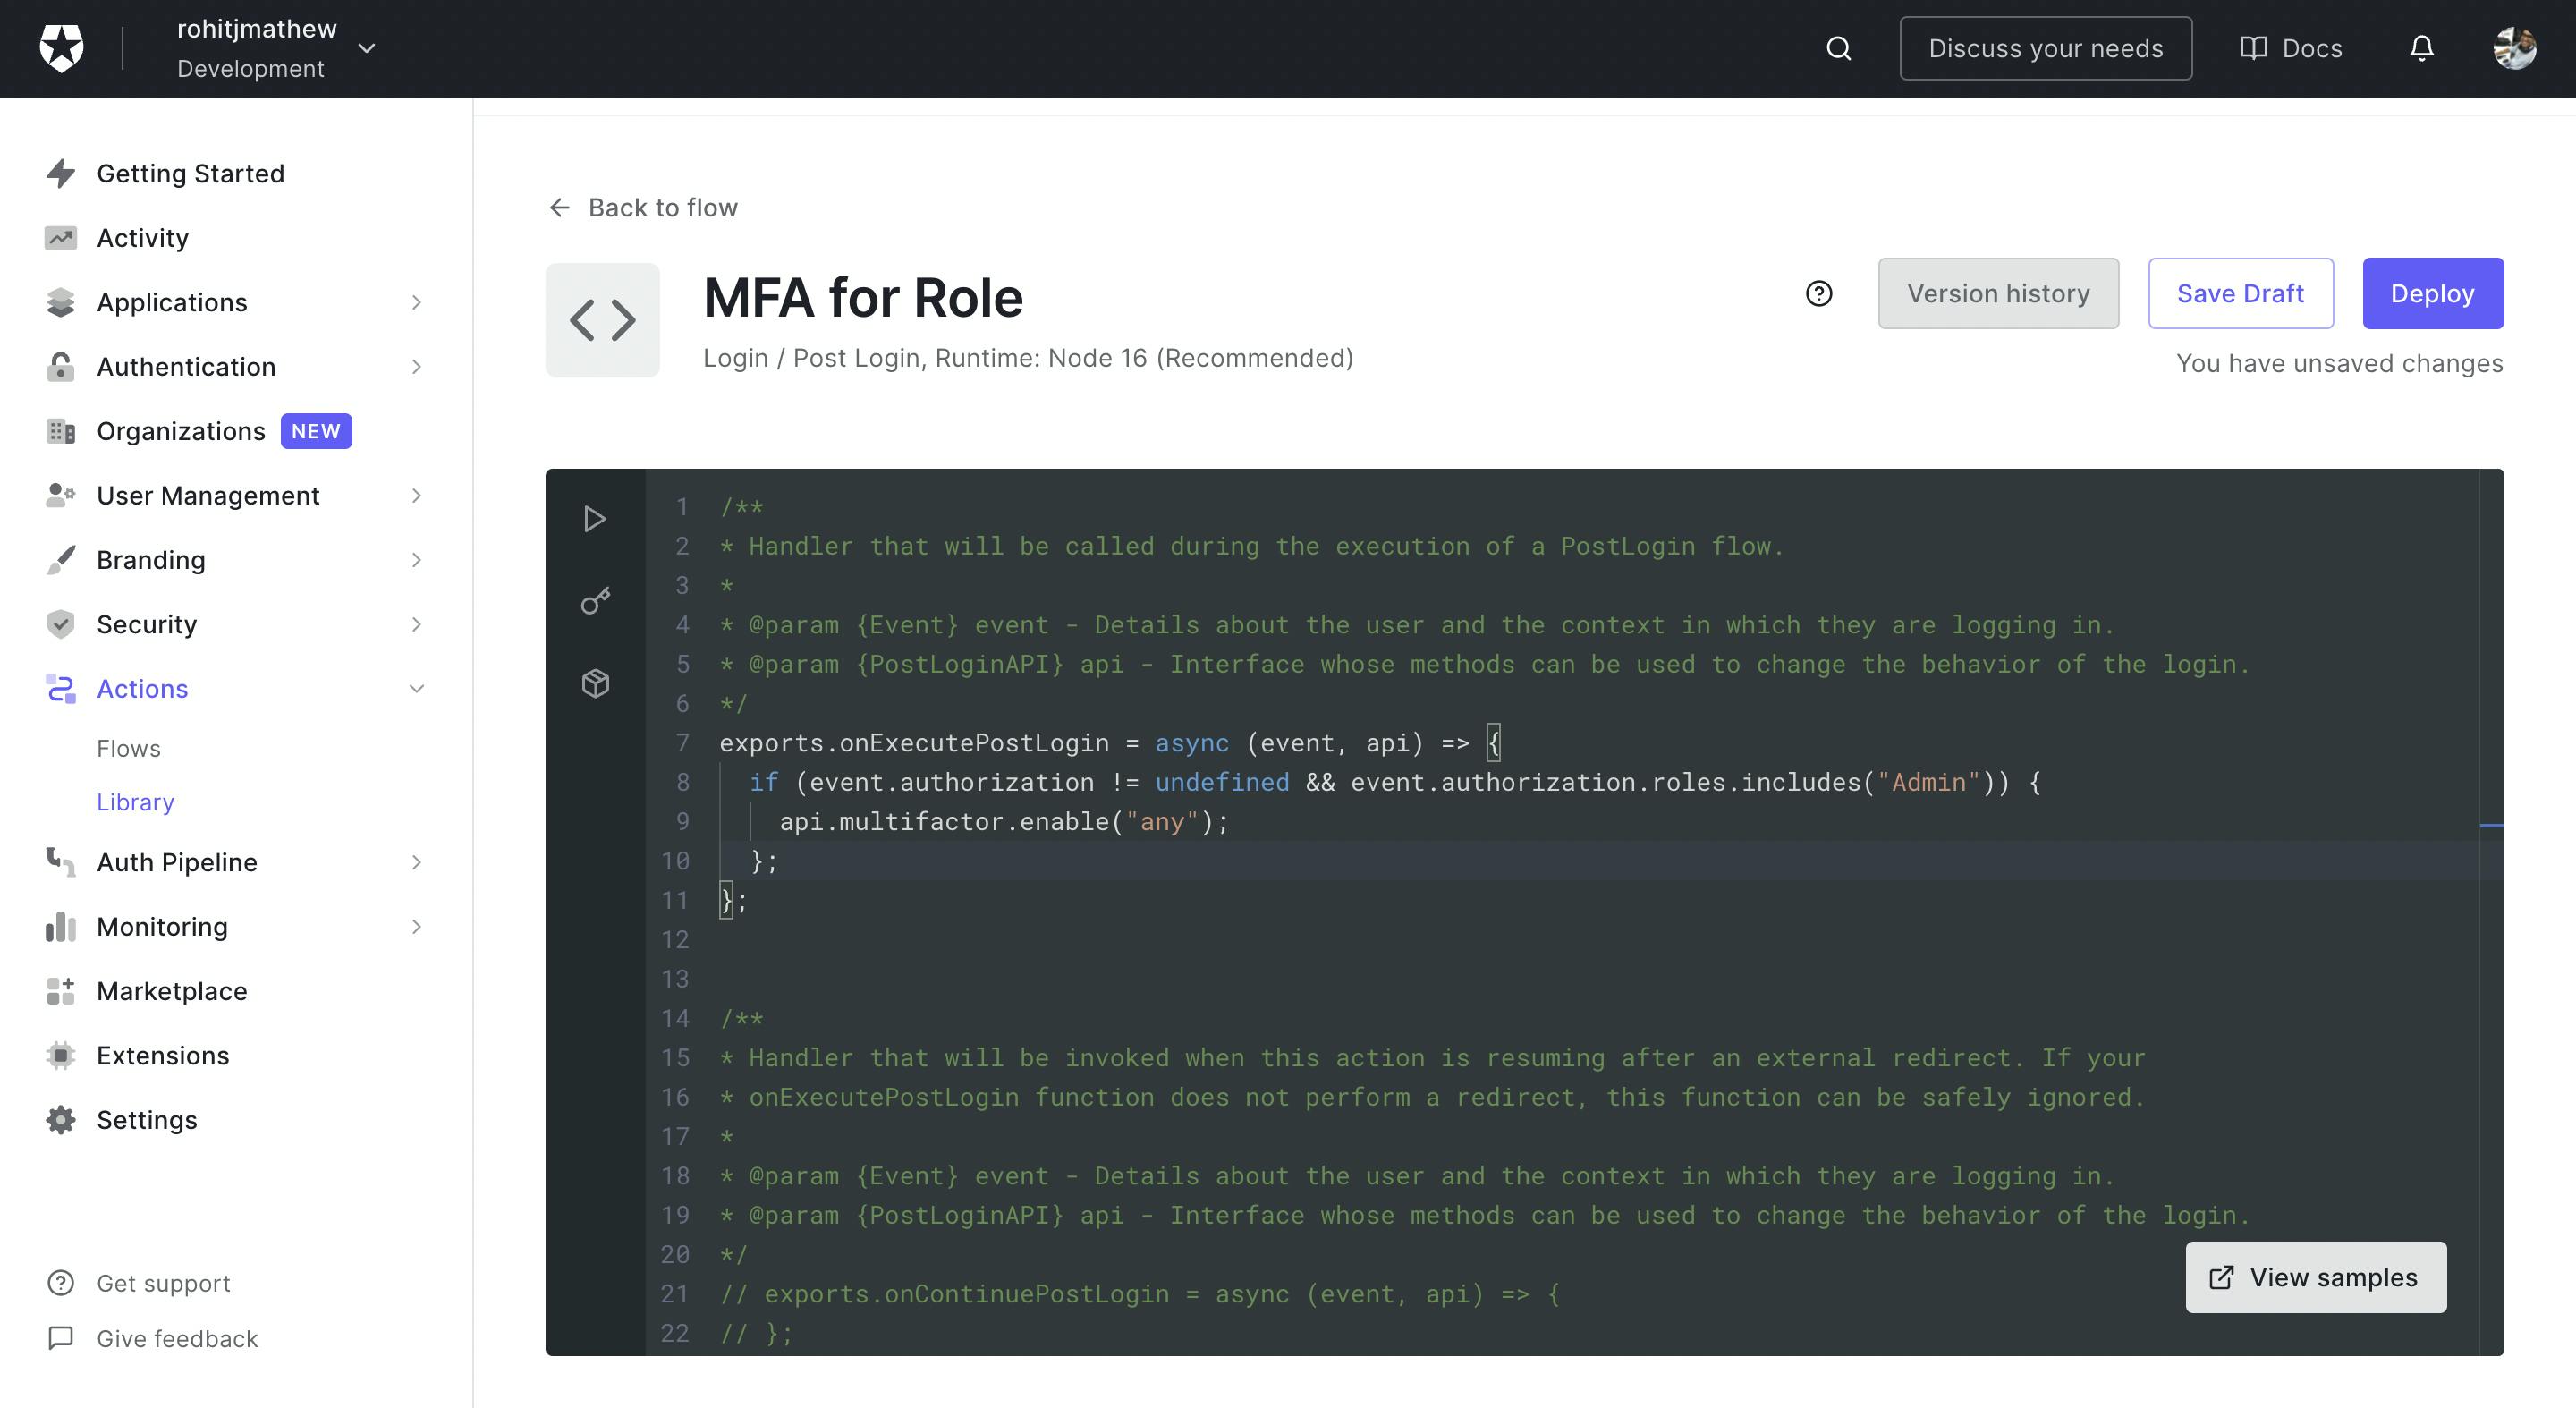
- Add the below code into
onExecutePostLoginfunction
  if (event.authorization != undefined && event.authorization.roles.includes("Admin")) {
      api.multifactor.enable("any");
  };
On the left side you can see a play button. This is your testing environment inside the actions editor. You will find the event object in which you can test the actions flow by adding
Adminto theauthorization.rolesarray.When you add the
Adminrole you should see a response with MFA like below and when not present you should get an empty array.
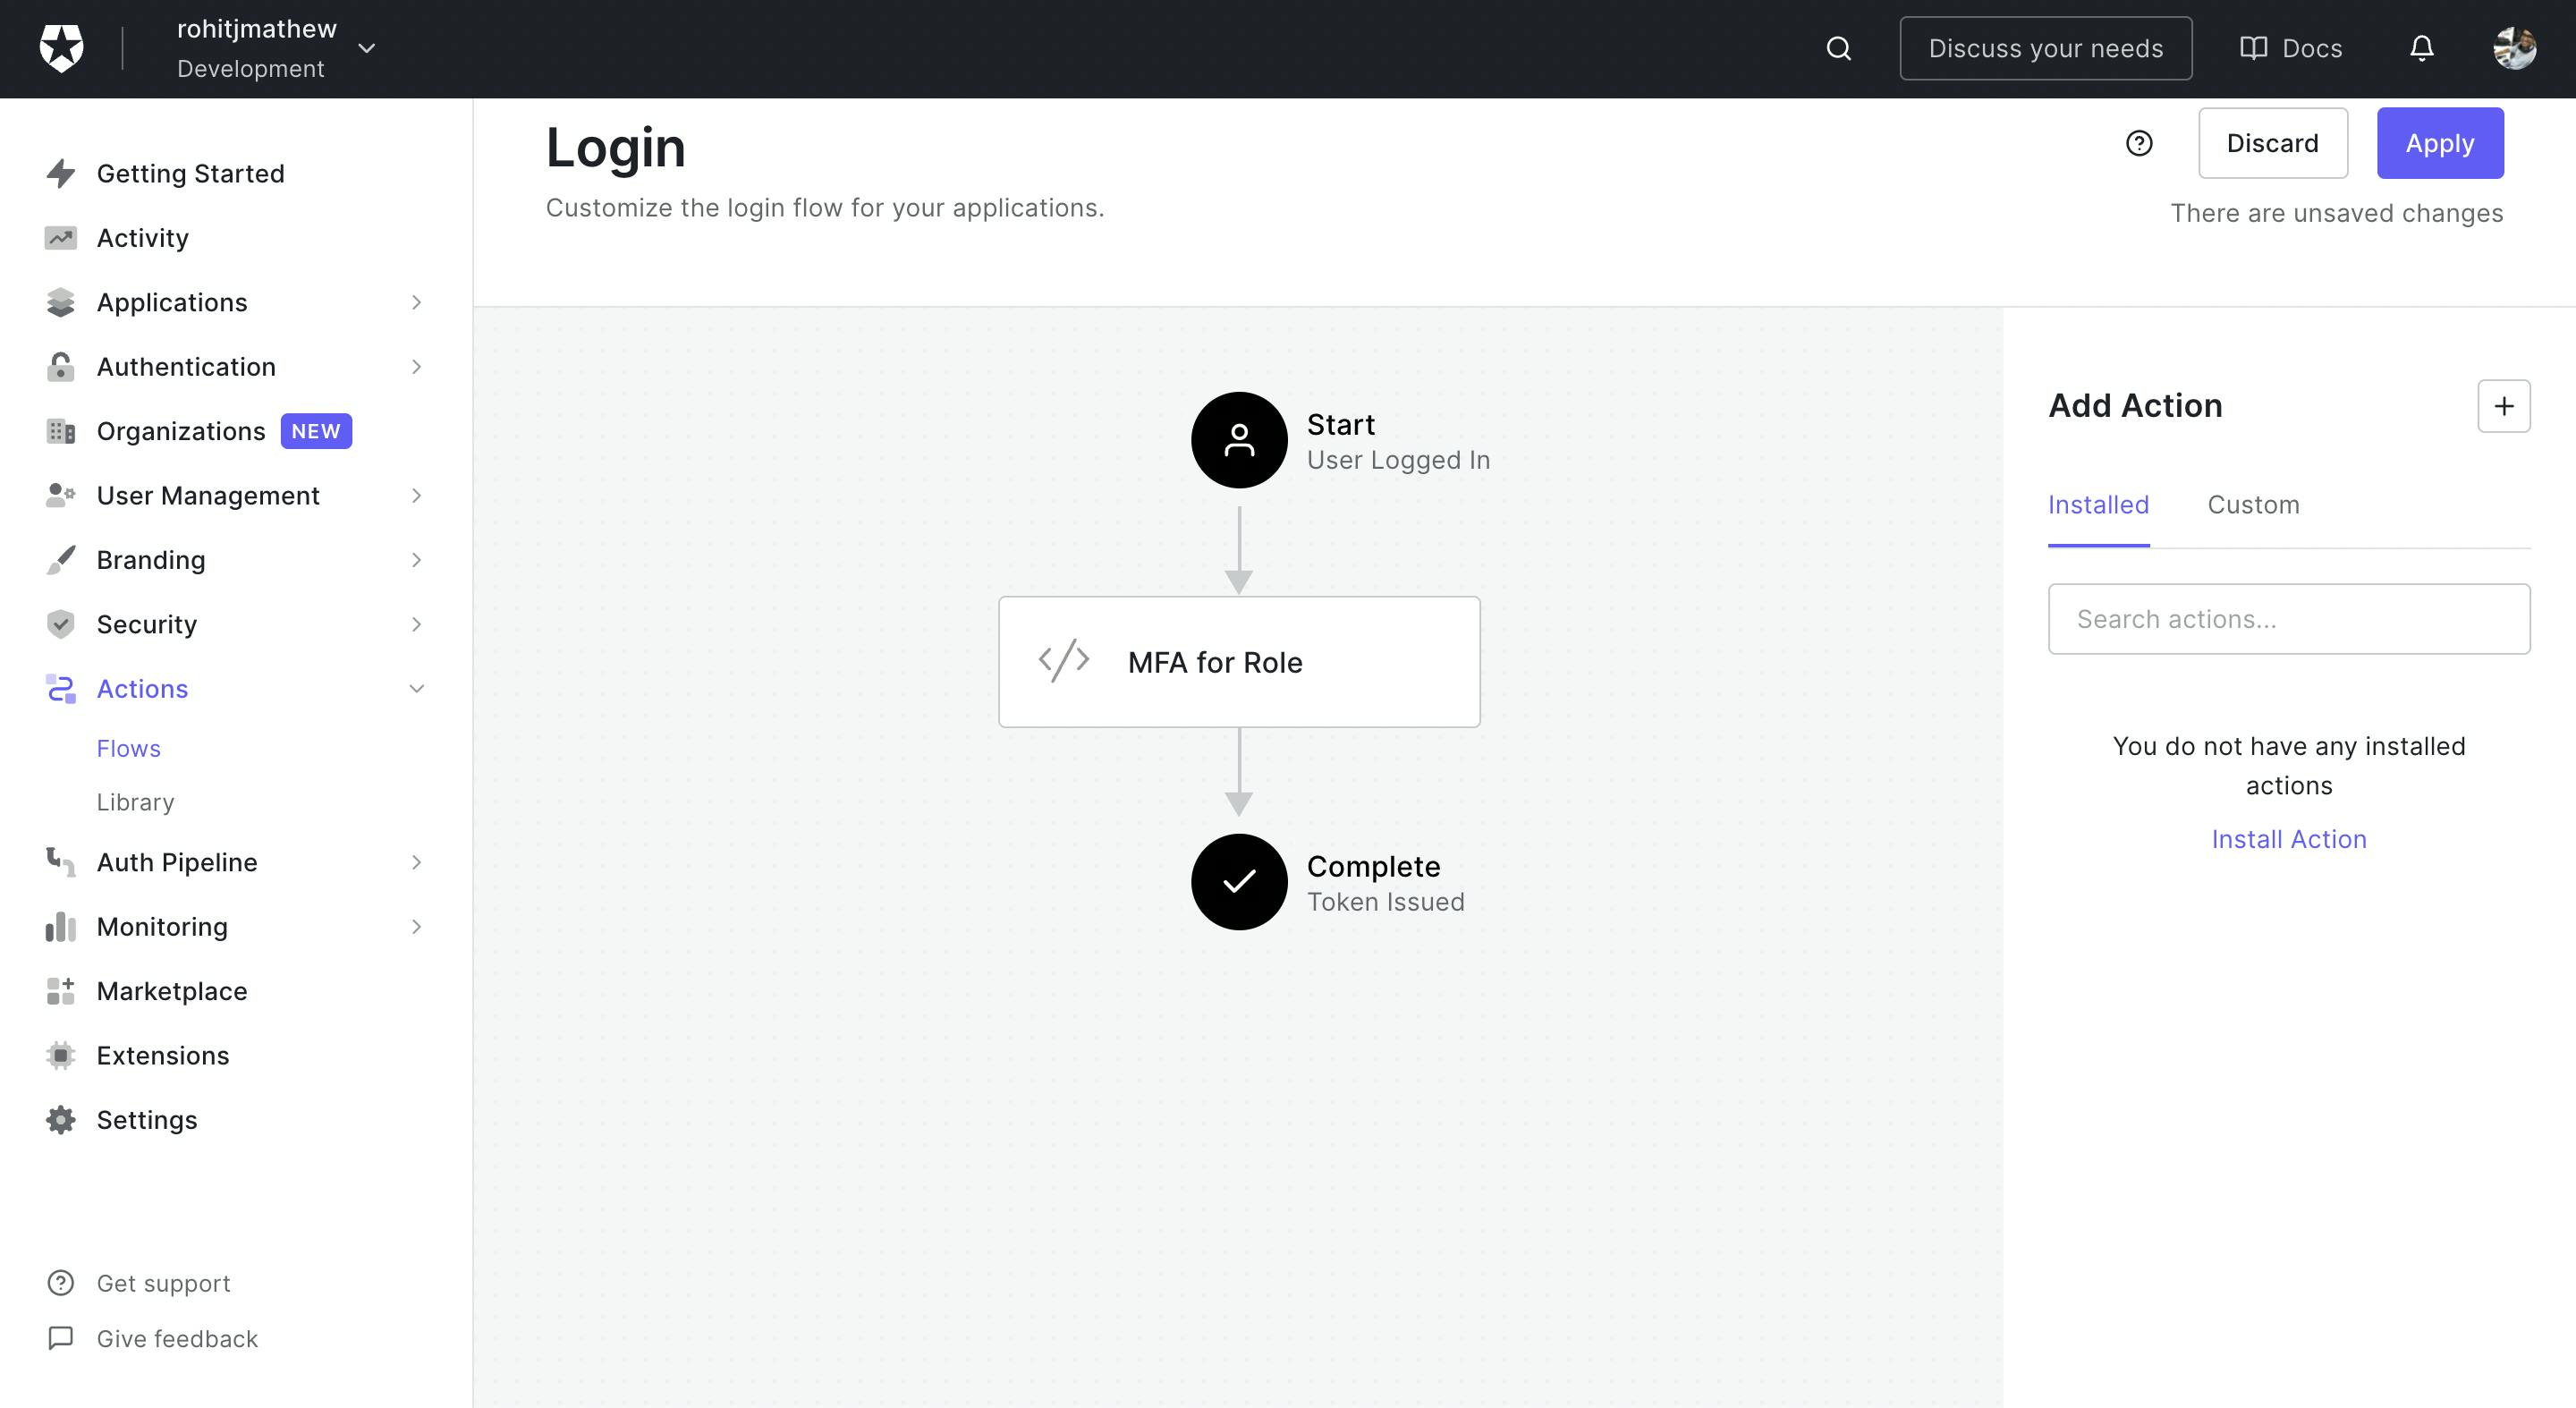
- Click on save draft & deploy. Go to the flow now and click on the custom tab on the right and you should be able to drag and drop the
MFA for Rolesaction into the flow. Click on Apply such that this new flow will work with your login box.
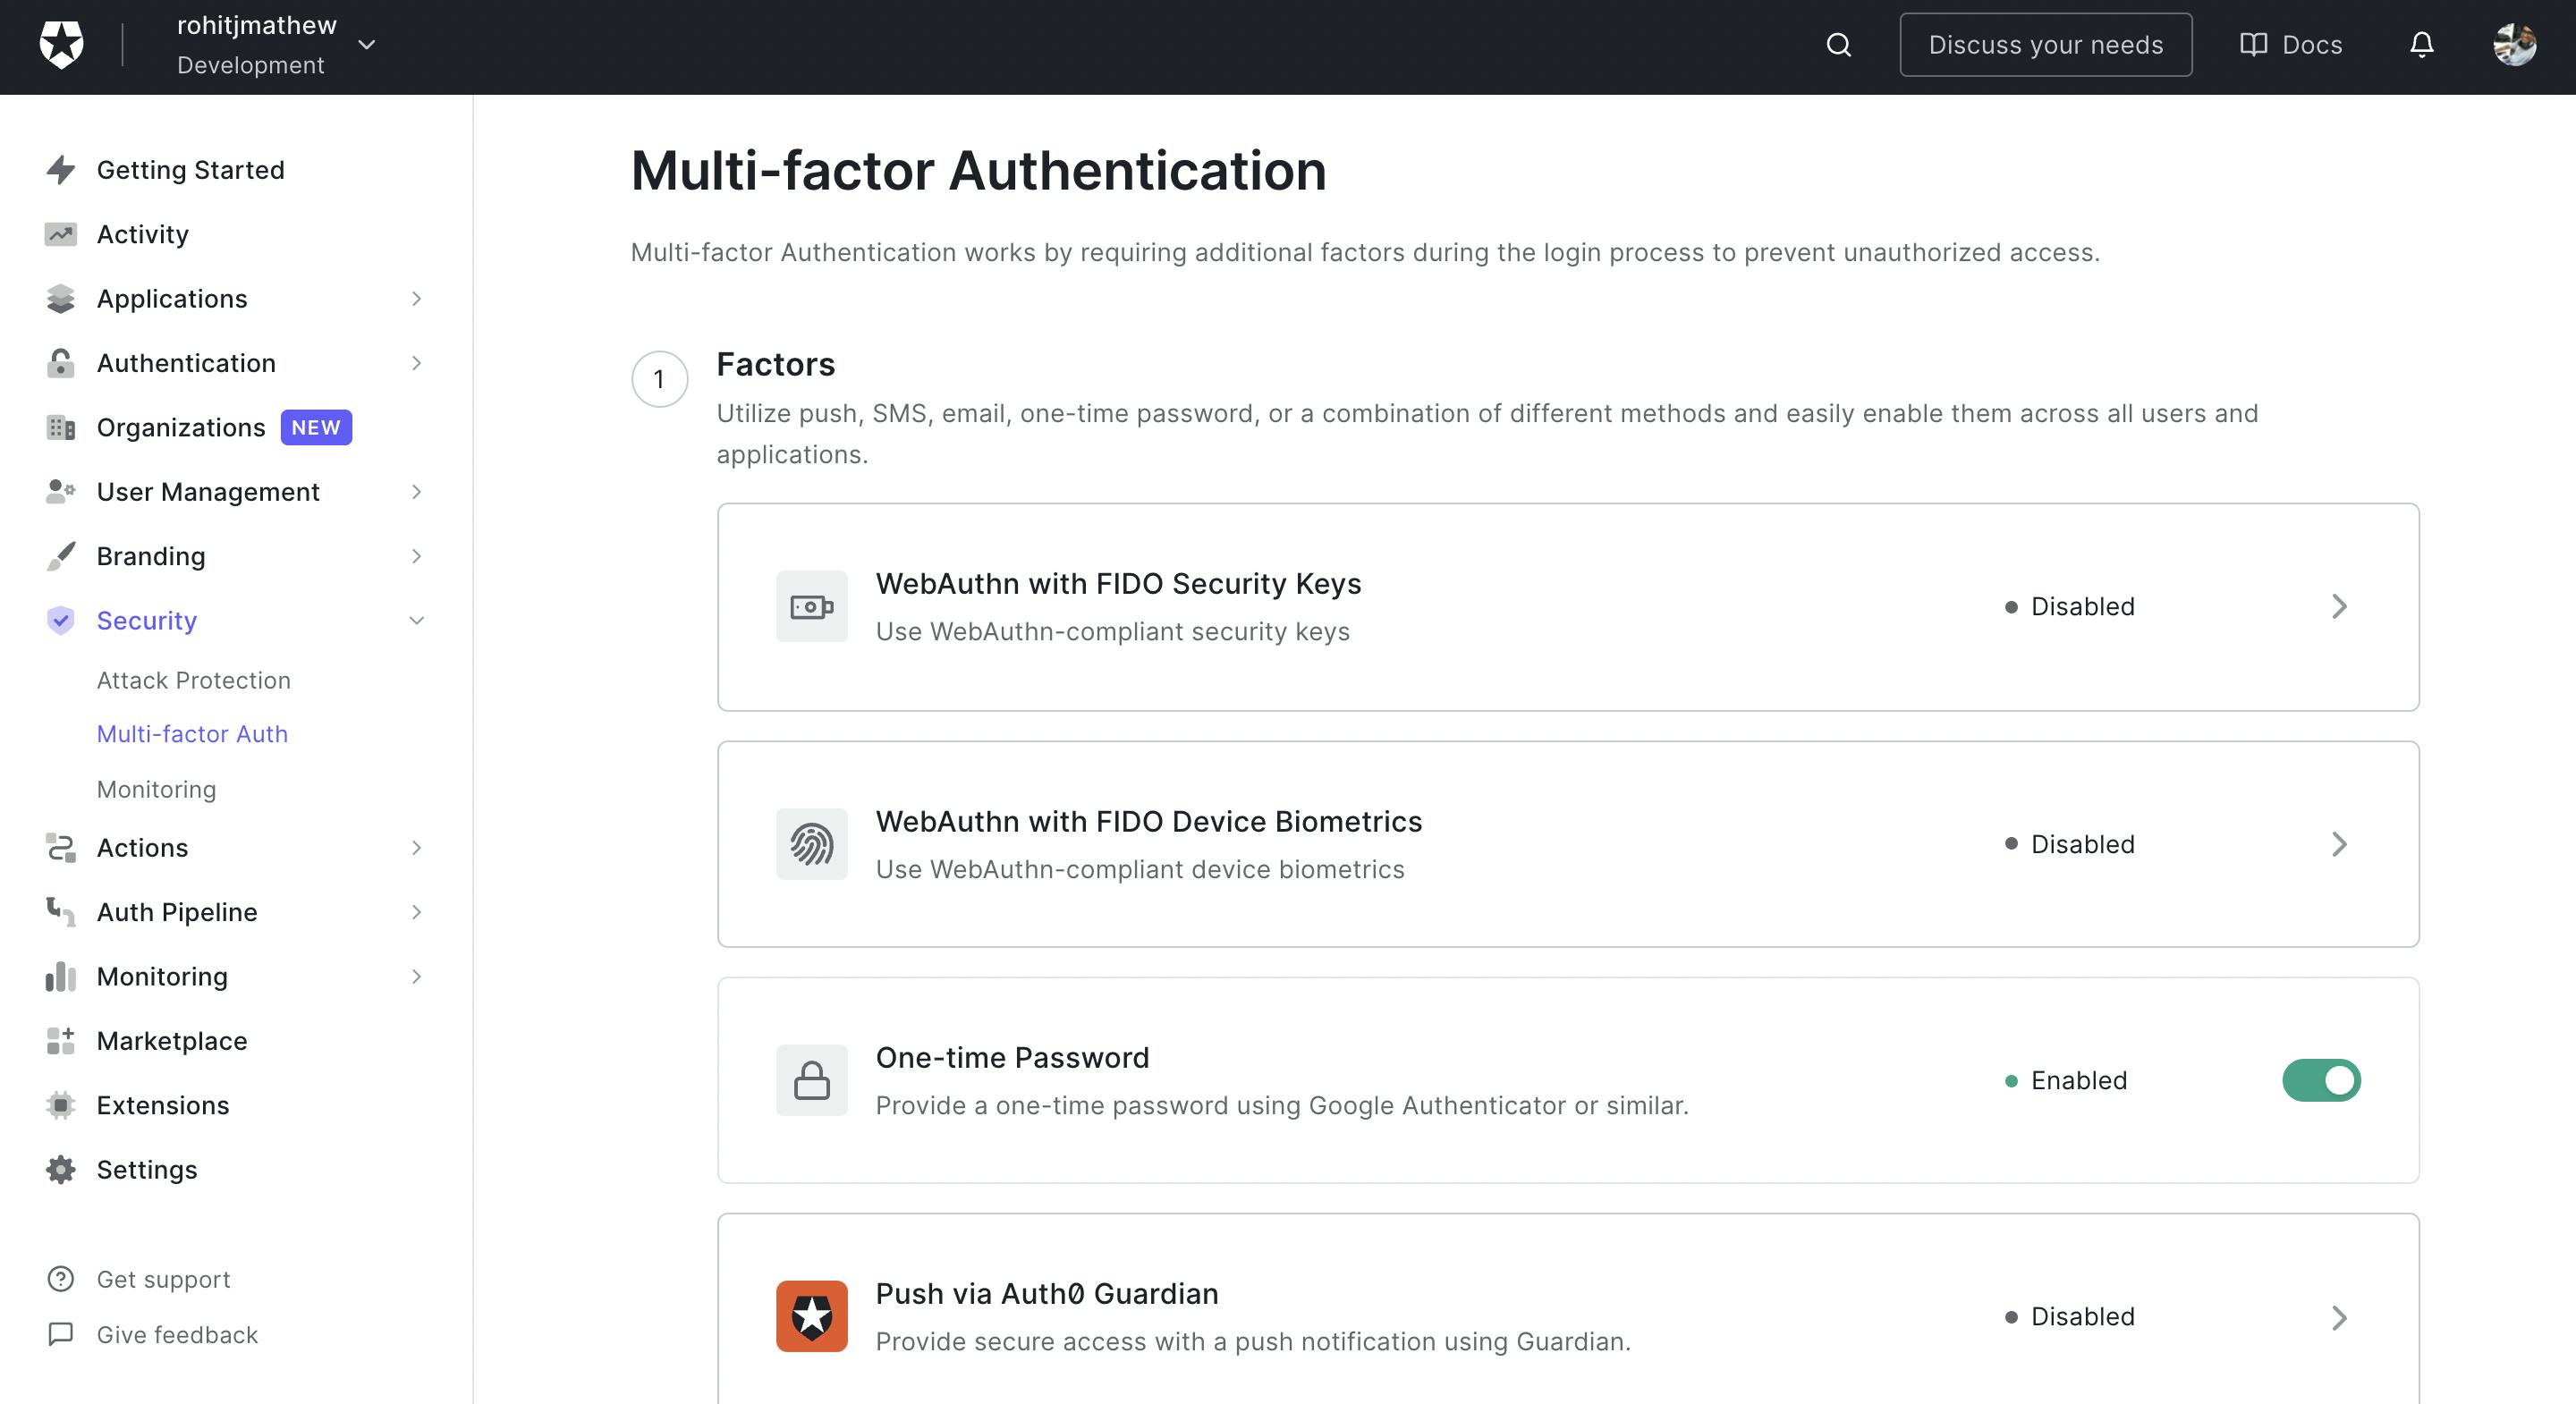
You will also need to enable MFA on the Auth0 dashboard. Open the Securities tab and choose multi-factor auth. In the following screen enable One-time Password. This will enable users to use an application like Google Authenticator for a one-time password. There are other factors you can enforce as well like SMS or Email-based OTP etc but for this demo, we will be using just the one-time password.
In the policies section leave everything as is and save your changes.
6) Testing With Your Application
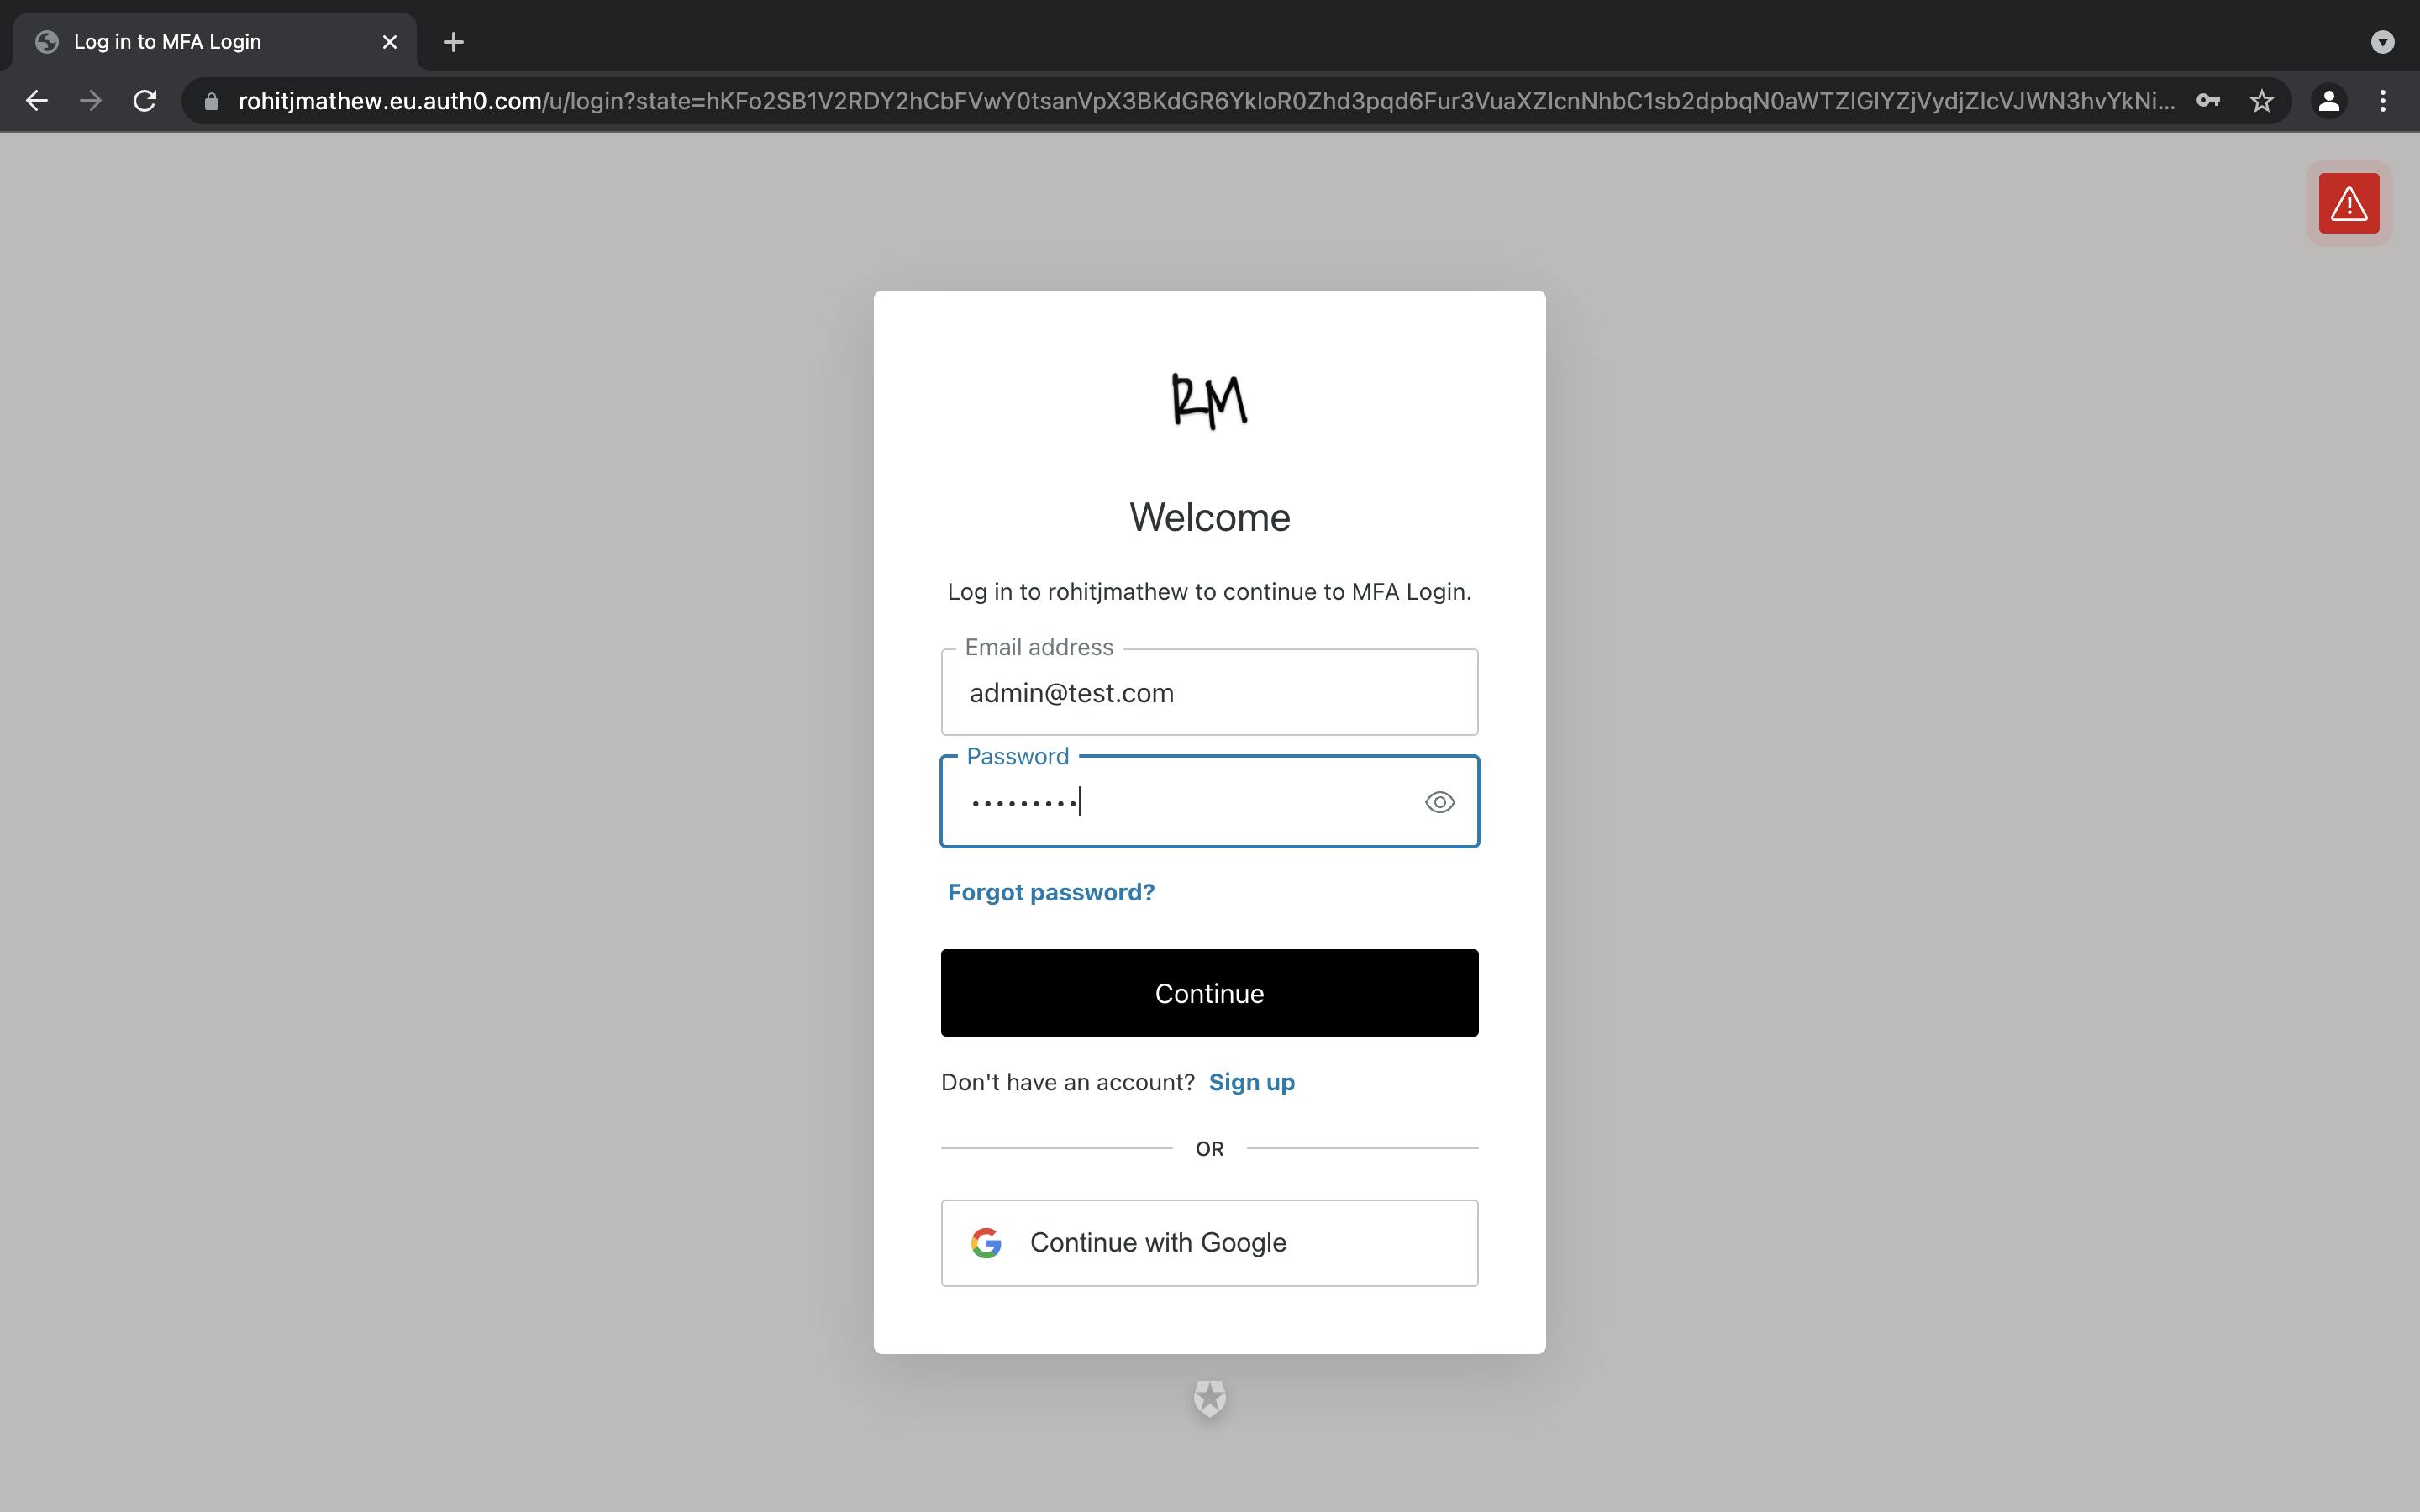
Now when you go to login in on the locally running application we should be triggered to do a MFA for the admin user. So let's test that.
Click on login and redirect to your login box. If you are logged in already, log out and then do the same.
Enter your admin users credentials
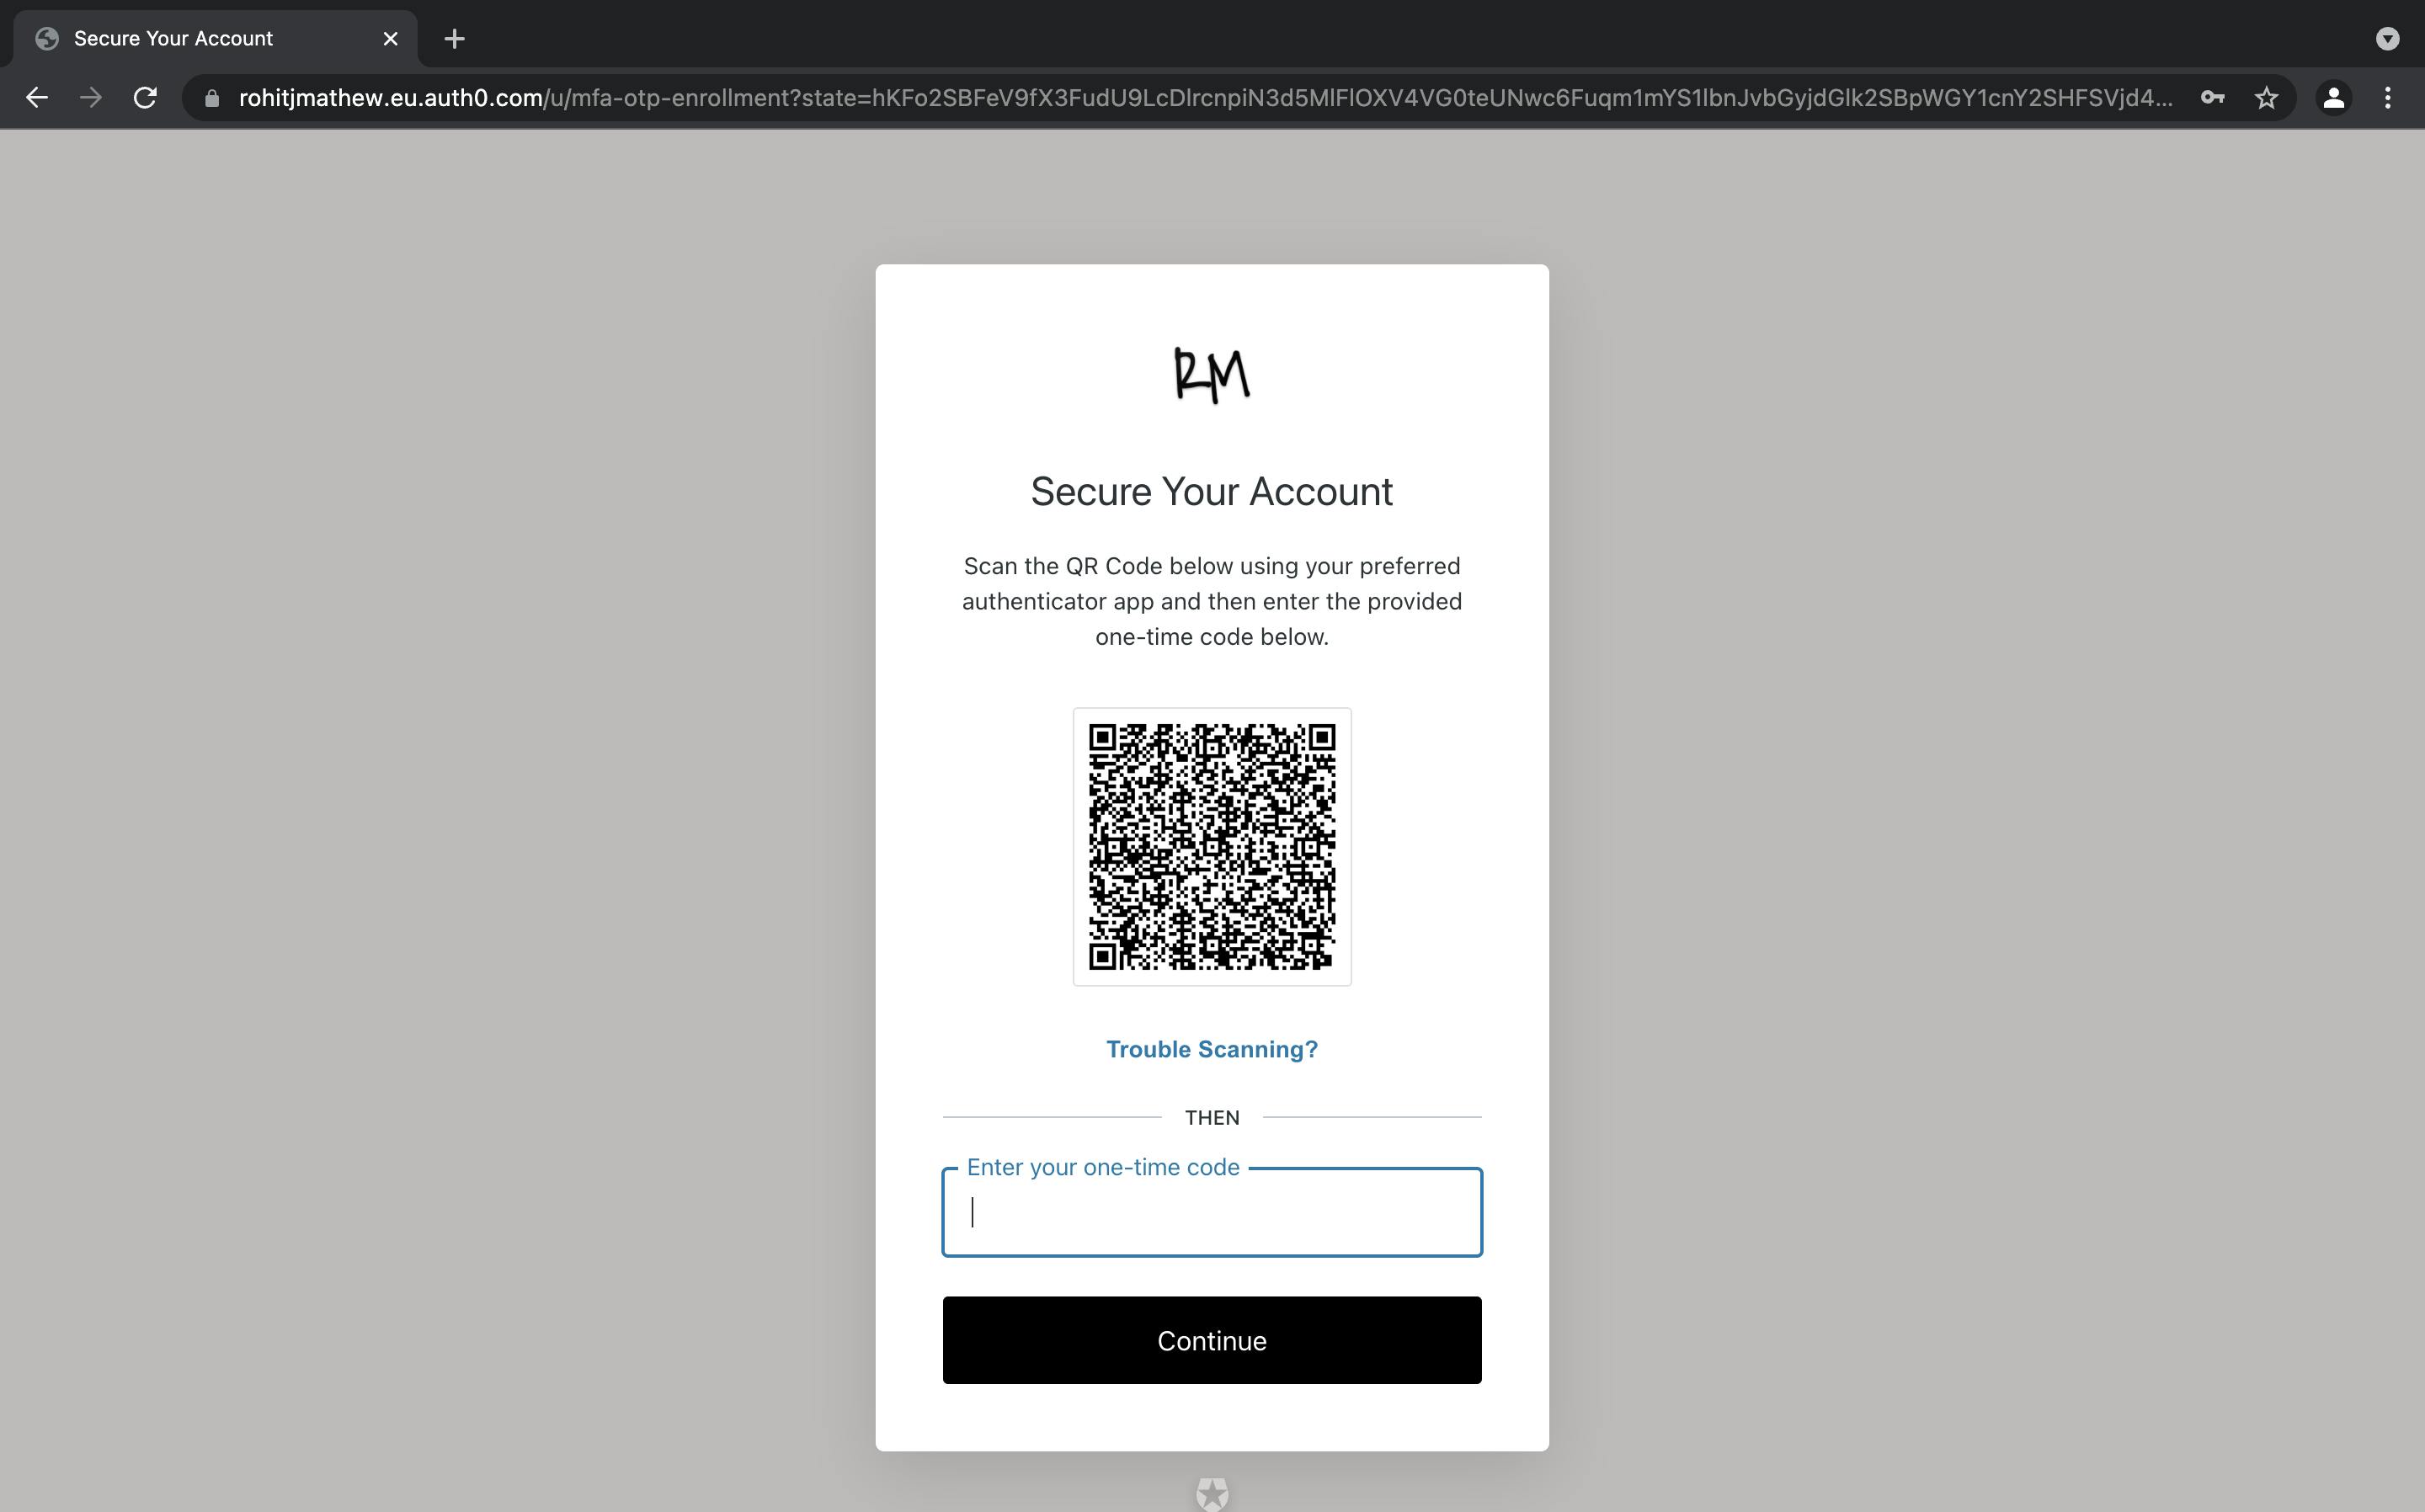
- Once the login goes through as a success you will be prompted to authenticate with your preferred authenticator app. I used google authenticator and entered my OTP.
- You will then be asked to consent to share your user data with the application.
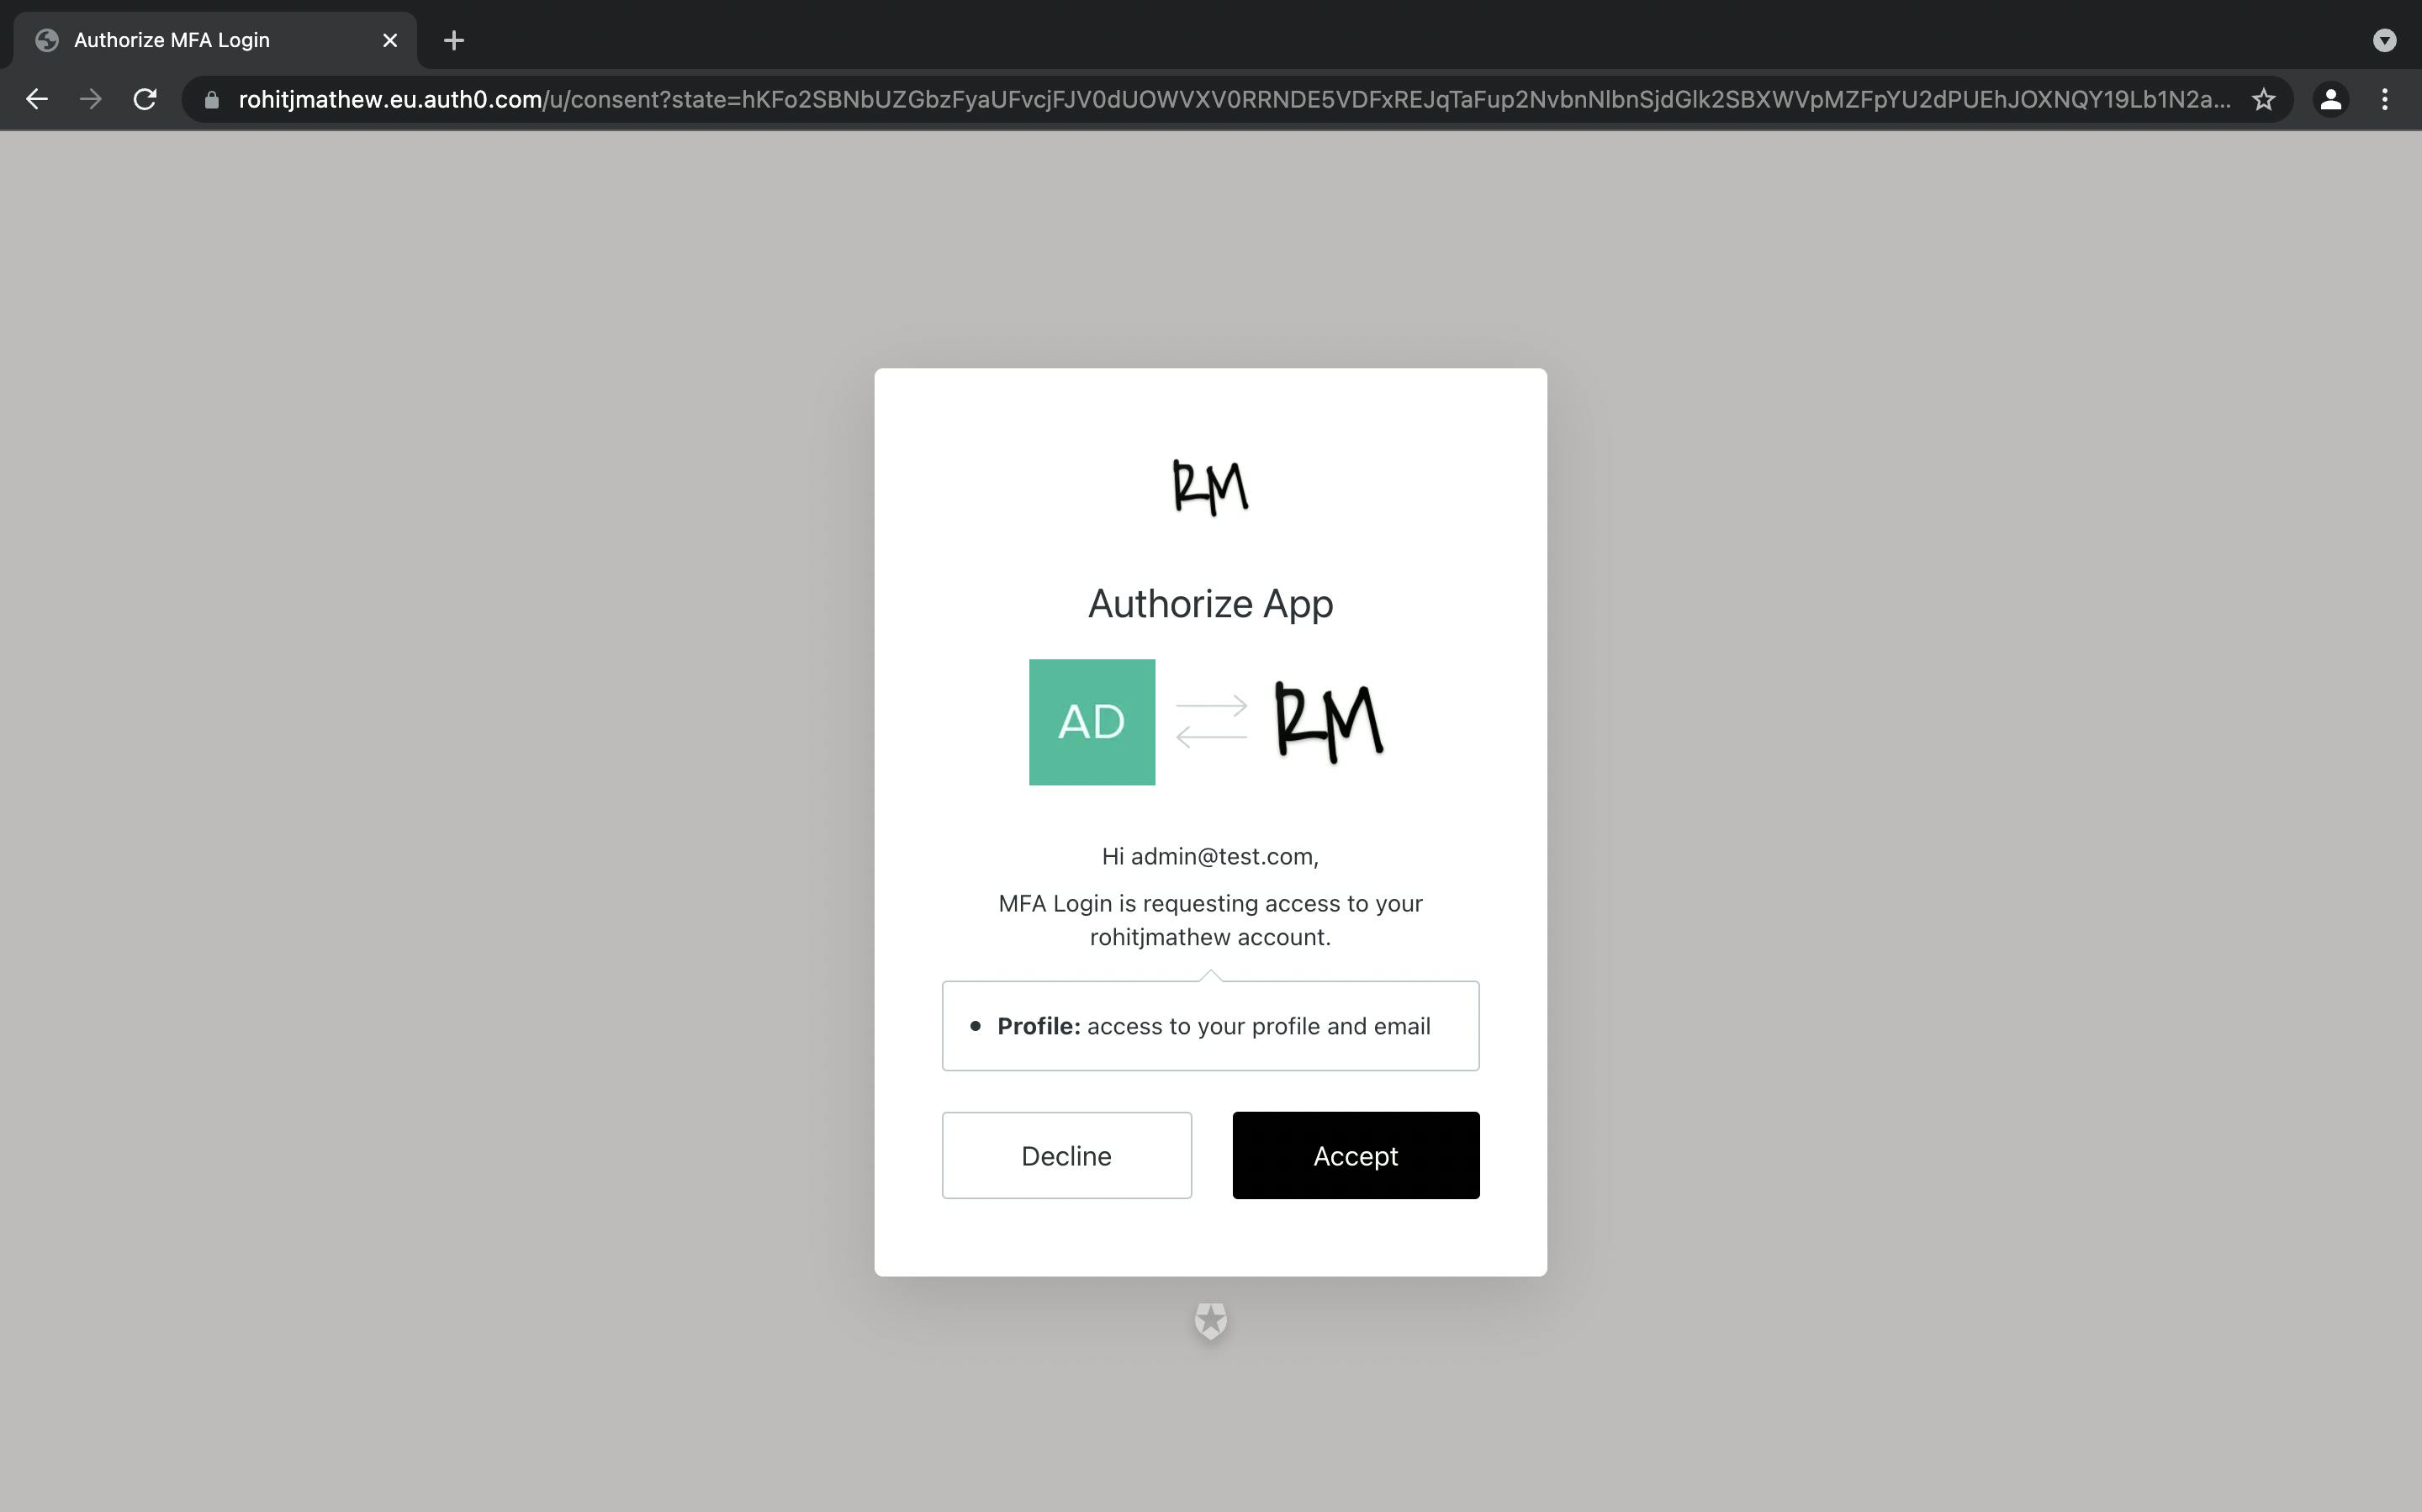
- Once you accept the above you should be logged in.
- If you try the same flow with the test user you will notice that you are directly logged in post the consent page and no MFA request was triggered. This is because in our actions code as shown below you can see we look to see if the user roles have the Admin role and if so then we ask Auth0 to trigger a MFA workflow with any of the enabled MFA use cases of the tenant.
  if (event.authorization != undefined && event.authorization.roles.includes("Admin")) {
      api.multifactor.enable("any");
  };
Conclusion
Congrats you have just created a custom Auth0 Actions flow and tested it. This was a simple example to enable you to understand what they are, how they can be built and used in your workflows. There are many more complex flows you can build for and can find some examples provided by Auth0 below. Just click on the trigger and you will find specific examples.
Hopefully, this enables you to understand what actions are and how you can use them in your login workflows.
Thanks for reading! I really hope that you find this article useful. I invite you to participate in the discussion in the comments below, I'm always interested to know your thoughts and happy to answer any questions you might have in your mind. If you think this post was useful, please like the post to help promote this piece to others.
Thanks for reading! :)
P.S Do feel free to connect with me on LinkedIn or Twitter
Appendix
The following have been great material that helped me write this article: